Assembly
Assembling a rectangular polystyrene (EPS) pool: step by step
Here you will find all the instructions from the manufacturer Poolsana for the assembly and installation of rectangular pools made of polystyrene (EPS) formwork blocks: from choosing the site and excavation, through the base slab, raising and reinforcing the walls and filling with concrete, to fitting the liner, backfilling and the safety notes. At the end the instructions for the Smart / Smaragd integrated corner steps are also added. The steps are valid only for rectangular pools.
1Introduction and important notes
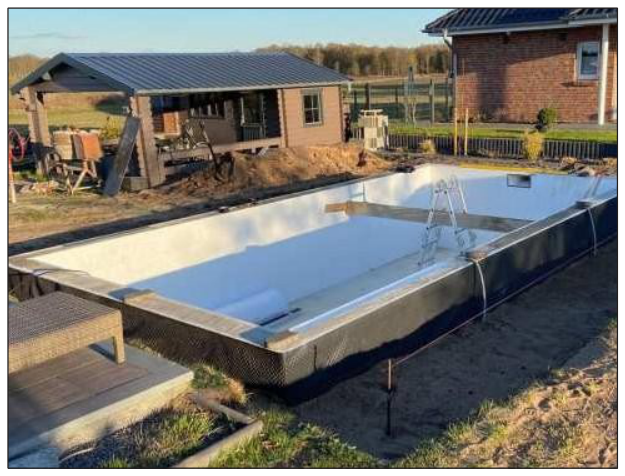
Here you will find all the instructions from the manufacturer Poolsana for the assembly and installation of rectangular pools made of polystyrene (EPS) formwork blocks: from the excavation and the base slab, through raising and reinforcing the walls, filling with concrete and fitting the liner, to backfilling and the safety notes. The steps are valid only for rectangular pools. The images are indicative and serve as a general illustration.
Before you start, read all the assembly and safety instructions carefully and follow them. Compliance with all the instructions is mandatory to keep your right to the warranty. If you have any discrepancies or doubts, contact the manufacturer before starting the construction work.
Before assembly, check that your pool is complete and that all parts are in perfect condition. No liability is accepted for transport damage reported on parts that have already been assembled.
The success of the construction project depends on the following points, described in detail below:
- material requirements;
- choice of site and filtration system;
- excavation of the pool pit;
- construction of the foundation (base) slab;
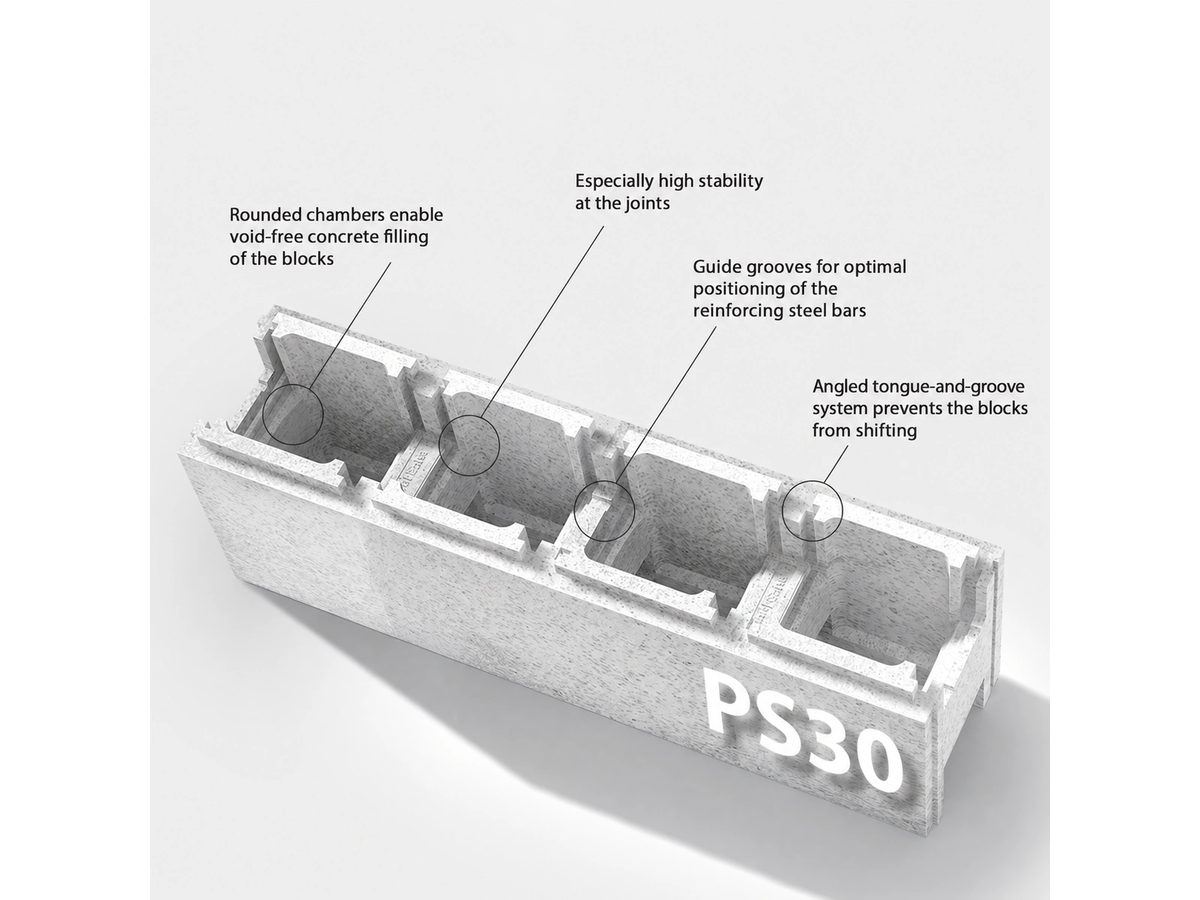
- installation of the formwork blocks;
- installation of the embedded components;
- filling the formwork blocks with concrete;
- installation of the hanging profile;
- laying the non-woven fabric underlay (geotextile);
- hanging the liner (sheet);
- flanging the embedded components;
- installation of the pool pipework and the filtration system;
- backfilling around the pool.
To prevent drowning or serious injury, unauthorised access to the pool, especially by children under 5 years of age, must be prevented with suitable protective devices. Non-swimmers and children must be supervised by a competent person. The safety rules are only a supplement and do not replace personal responsibility. More information in section 12.
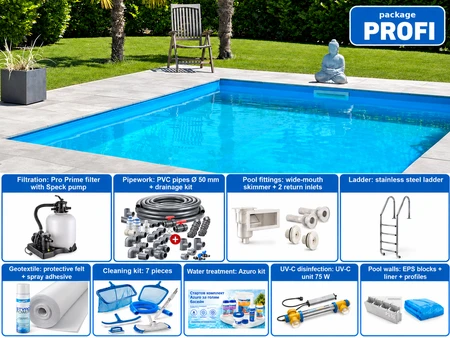
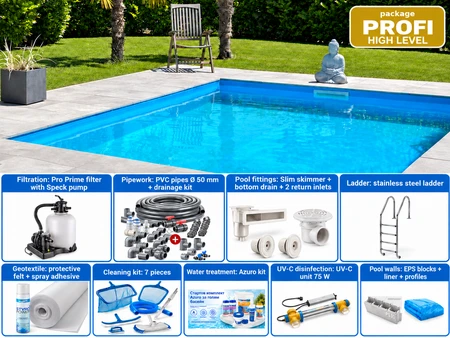
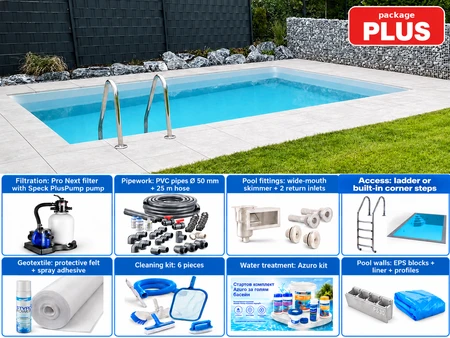
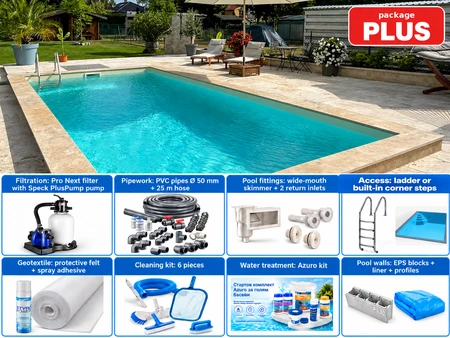
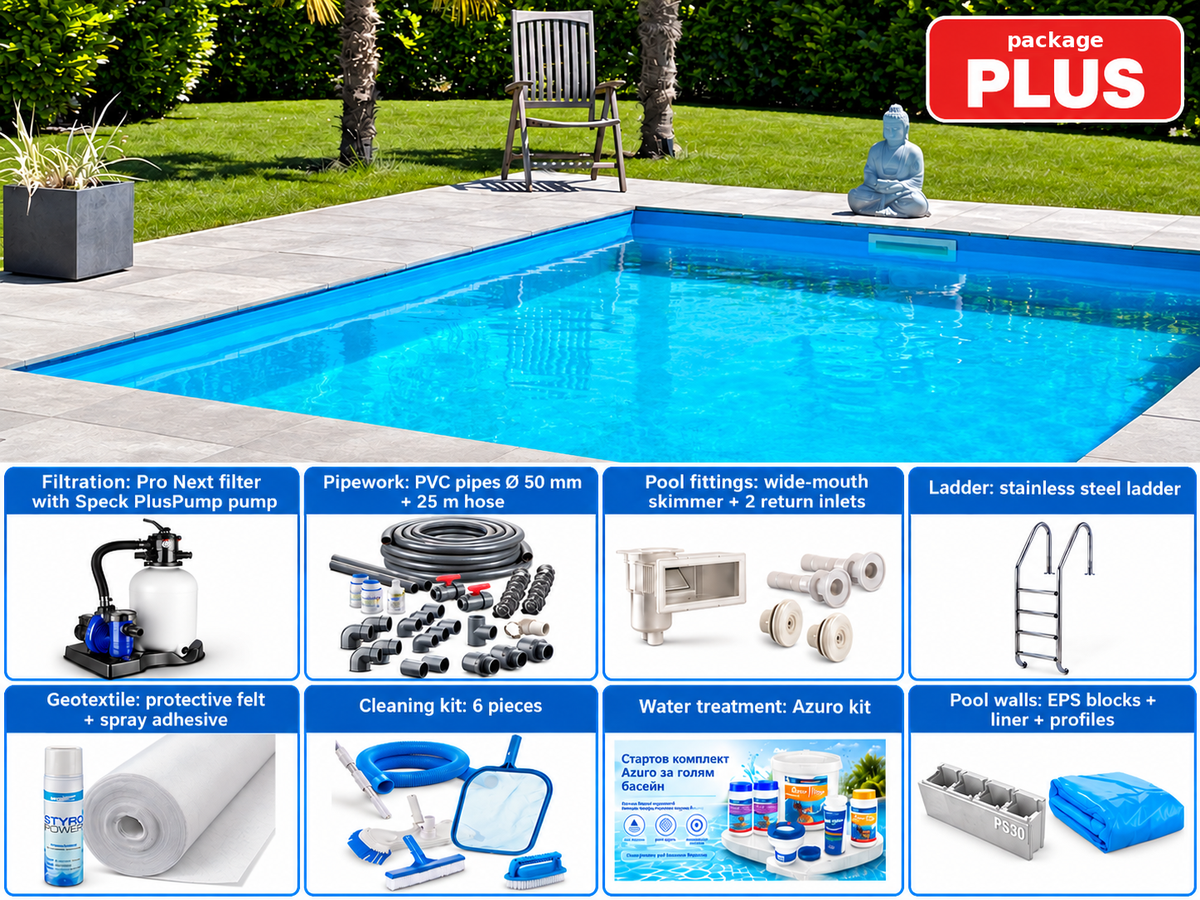
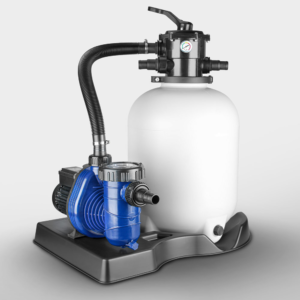
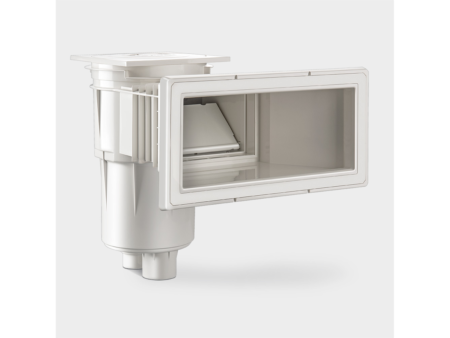
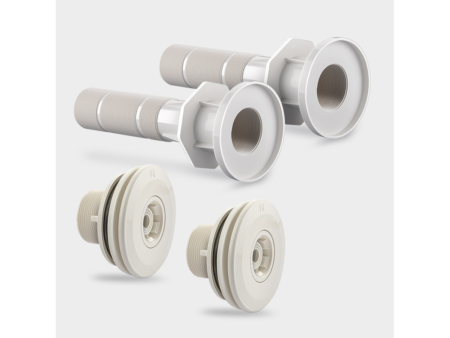
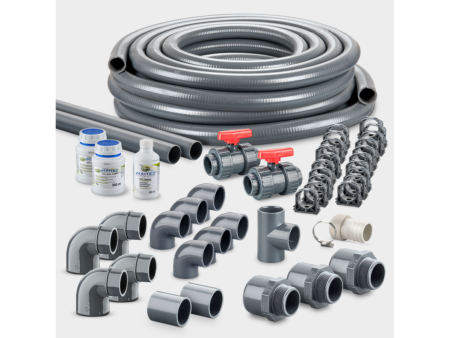
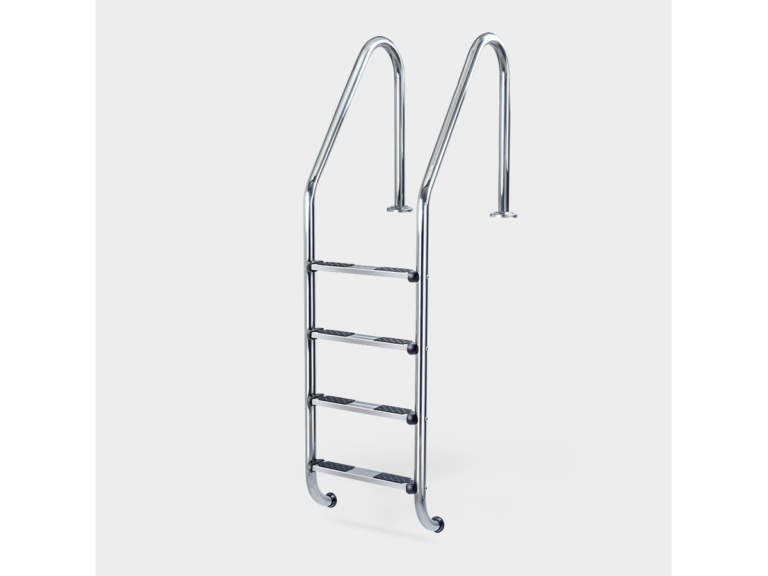
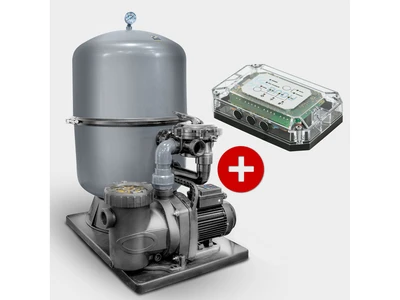
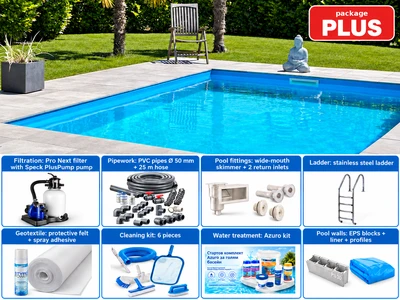
Note on the package: the package includes EPS blocks, a liner with hanging edge, aluminium profiles, a skimmer (wide-mouth or Slim), a main drain (only in PROFI High Level), 2 return inlets, pipework, geotextile with spray adhesive, a filter, a ladder or corner steps. Plant shafts, underwater lights and counter-current units are not part of the package; their descriptions below are for the cases where you decide to add them as options.
2.1Pool (without plant shaft)
Pool dimensions (length × width × depth): 5.00 × 3.00 × 1.50 m; 6.00 × 3.00 × 1.50 m; 7.00 × 3.50 × 1.50 m; 8.00 × 4.00 × 1.50 m. The quantities below are per size, in the same order: 5×3 / 6×3 / 7×3.5 / 8×4 m.
- Formwork blocks (included in the delivery): 85 / 95 / 110 / 125 pieces
- Caps (finishing elements, included in the kit): for all sizes, 20 upper and 20 lower sliders
- Concrete slab (20 cm thick): about 4.5 / 5.5 / 7 / 9 m³
- Concrete for filling the wall: about 3.1 / 3.5 / 4 / 4.5 m³
- Reinforcing mesh Q257A: 41 / 48 / 63 / 80 m²
- 8 mm U-shaped reinforcement, 80 × 10 × 80 cm (edge of the base slab): 64 / 72 / 84 / 96 pieces
- 12 mm angle clips, 65 × 46 cm (connecting reinforcement): 32 / 36 / 42 / 48 pieces
- 12 mm angle clips, 65 × 20 cm (joint reinforcement): 32 / 36 / 42 / 48 pieces
- 12 mm reinforcing steel, 140 cm (vertical reinforcement of the hollow cavities): 72 / 80 / 92 / 104 pieces
- 6 mm reinforcing steel (ring reinforcement): 20 pieces of 5 m and 20 pieces of 3 m (5×3); 20 of 6 m and 20 of 3 m (6×3); 20 of 7 m and 20 of 3.5 m (7×3.5); 20 of 8 m and 20 of 4 m (8×4)
- 6 mm U-profile, 60 × 10 × 60 cm (corner joint): 40 pieces for all sizes
- 12 mm reinforcing steel (reinforcement for the top course of blocks): 8 pieces of 5 m and 8 of 3 m (5×3); 8 of 6 m and 8 of 3 m (6×3); 8 of 7 m and 8 of 3.5 m (7×3.5); 8 of 8 m and 8 of 4 m (8×4)
- 12 mm U-shaped reinforcement, 60 × 10 × 60 cm (corner joint, top course of blocks): 16 pieces for all sizes
- 6 mm U-shaped reinforcement, 20 × 10 × 20 cm (for joining the top ring): 68 / 76 / 88 / 100 pieces
2.2Plant shafts (optional; not included in the package)
If you add a plant shaft to the pool, additional materials are needed.
Shaft 3.00 × 1.00 × 1.50 m:
- Formwork blocks: 28 pieces (plus additional sliders, if necessary)
- Concrete base slab (20 cm): about 1 m³
- Concrete for filling the walls: about 1 m³
- Reinforcing mesh Q257A: 10 m²
- 8 mm U-shaped reinforcement, 80 × 10 × 80 cm (edge of the base slab): 20 pieces
- 12 mm angle clips, 65 × 46 cm (connecting reinforcement): 10 pieces
- 12 mm angle clips, 65 × 20 cm (joint reinforcement): 10 pieces
- 12 mm reinforcement, 140 cm (vertical reinforcement of the hollow cavities): 22 pieces
- 6 mm reinforcement (ring reinforcement): 16 pieces of 1 m and 8 pieces of 3 m
- 6 mm U-shaped reinforcement, 60 × 10 × 60 cm (corner joint): 20 pieces
- 12 mm reinforcement (ring reinforcement for the top course of blocks): 8 pieces of 1 m and 4 pieces of 3 m
- 12 mm U-shaped reinforcement, 60 × 10 × 60 cm (corner joint, top course): 8 pieces
Shaft 1.00 × 1.00 × 1.50 m:
- Formwork blocks: 18 pieces (plus additional sliders, if necessary)
- Concrete slab (20 cm): about 0.5 m³
- Concrete for filling the walls: about 0.7 m³
- Reinforcing mesh Q257A: 5 m²
- 8 mm U-shaped reinforcement, 80 × 10 × 80 cm (edge of the base slab): 20 pieces
- 12 mm angle clips, 65 × 46 cm (connecting reinforcement): 10 pieces
- 12 mm angle clips, 65 × 20 cm (joint reinforcement): 10 pieces
- 12 mm reinforcement, 140 cm (vertical reinforcement of the hollow cavities): 22 pieces
- 6 mm reinforcement (ring reinforcement): 24 pieces of 1 m
- 6 mm U-shaped reinforcement, 60 × 10 × 60 cm (corner joint): 20 pieces
- 12 mm reinforcement (ring reinforcement for the top course of blocks): 12 pieces of 1 m
- 12 mm U-shaped reinforcement, 60 × 10 × 60 cm (corner joint, top course): 8 pieces
3Choosing the site for the pool and for the filtration system
When choosing the site for the pool, bear the following in mind:
- The pool may only be installed on firm natural ground and never on made-up ground.
- The pool should be in a sunny spot, not far from the house. The skimmer should face the prevailing wind direction, so that dirt on the water surface is blown towards it. However, it is even more important that the skimmer is fitted on the narrow side of the pool, as close as possible to the filtration system.
- If a fence is planned around the pool, also consider its layout; if possible, the pool should not be directly in front of the living-room window.
- Before excavating the pit, draw up the plan of the pool to better estimate the final outer dimensions. The stated pool dimensions are internal: to the length and the width you must add 2 × 25 cm for the thickness of the walls.
- The ground underneath must be assessed by a professional to determine the appropriate thickness and quality of the concrete slab according to the condition of the ground.
The construction notes in these instructions refer to the complete construction of the pool. If the pool is built on a slope, a retaining wall must be built on the slope side. Under no circumstances should the pool wall be used to support the slope. If in doubt, consult a construction specialist or a structural engineer.
When choosing the site for the filtration system, note the following:
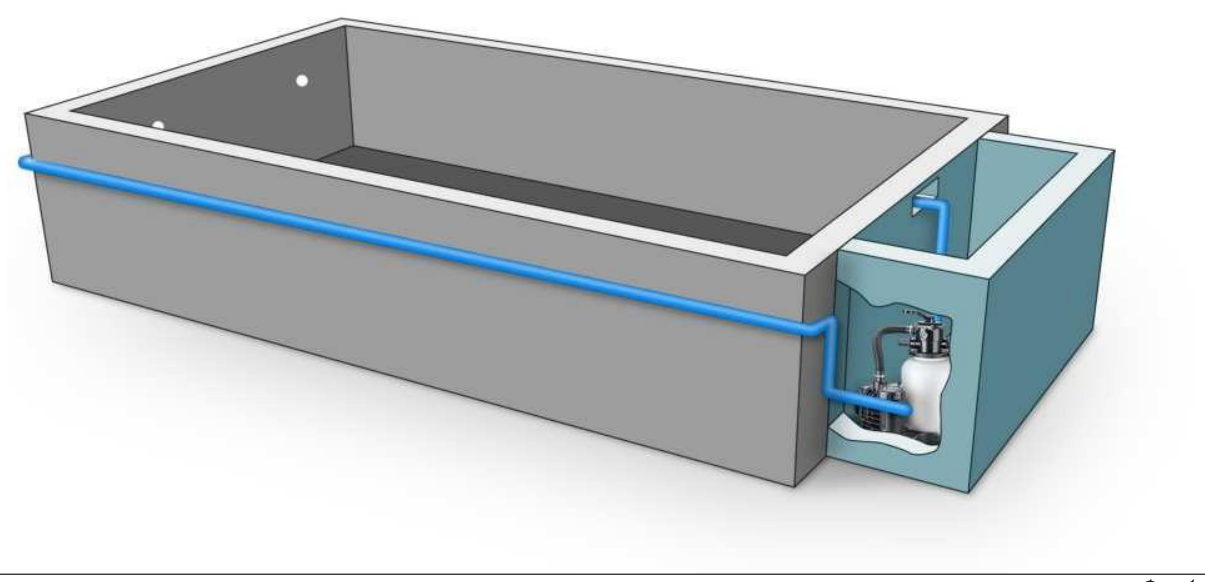
- In principle, the filtration system should be as close as possible to the pool, and it is preferable for the suction line (the line to the skimmer) to be shorter than the return line (the line to the inlets).
- The system can be installed in a plant shaft, in the house or in a garden shed, etc. If it is installed in the house or in a plant shaft, make sure there is a floor drain for any water that escapes. The backwash water must also be drained away: on average, about 200 litres every 1–2 weeks. This can be done through a permanent connection to the sewer or, if necessary, with a hose directed to a suitable drain.
- If the filtration system is higher than the water level, the pump must be self-priming. Also observe the manufacturer's data on the maximum suction height.
- The planned heating method also influences the choice: with a solar system, the filtration system should be as close as possible to the solar collectors; with an air-to-water heat pump installed outdoors, it is recommended that the filtration system is also in the garden; with a connection to the central heating via a heat exchanger, having the filter in the house is almost unavoidable.
4Excavating the pool pit
This type of pool is usually installed at ground level or at least slightly above it, so the excavation depth is calculated according to the following example.
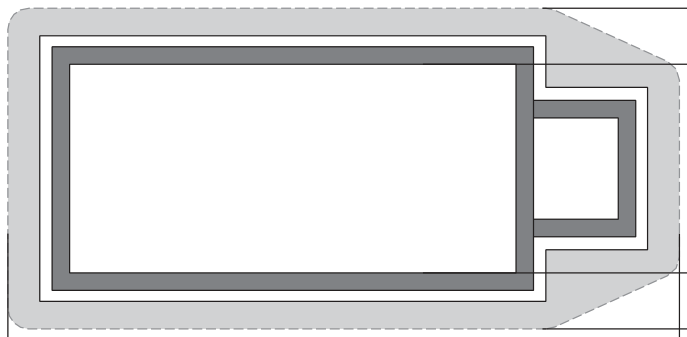
To determine the outer dimensions of the pit, add to the stated pool dimensions the thickness of the polystyrene block walls (2 × 25 cm in length and in width), plus about 60–70 cm of working space around the perimeter. Do not forget to leave enough space also for a possible plant shaft for the equipment.
The excavation depth is the sum of the depth of the buried pool (150 cm), the concrete base (20 cm) and the blinding layer or base layer (20 cm). In the example, the total excavation depth is 190 cm.
Example excavation dimensions for an 8 × 4 m pool together with a plant shaft (internal dimensions of the shaft 3 × 1 m): total excavation 4.0 × 5.7 m.
5.1Building the foundation slab
Before starting on the base slab, we recommend laying a 15–20 cm base layer of crushed stone. This layer should be connected to a drainage system to carry away seepage water or run-off from the slope.
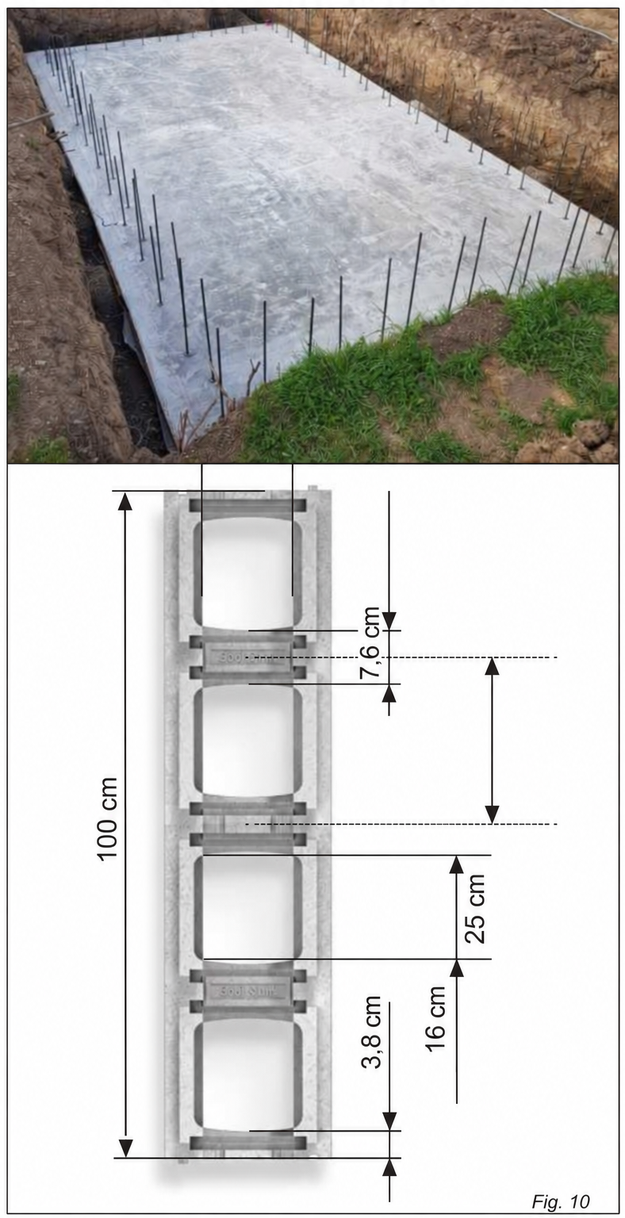
Next, we recommend building precise formwork for the slab. To determine the size of the concrete slab, add to the internal dimensions of the pool, on each side, the wall thickness of 25 cm plus another 10 cm.
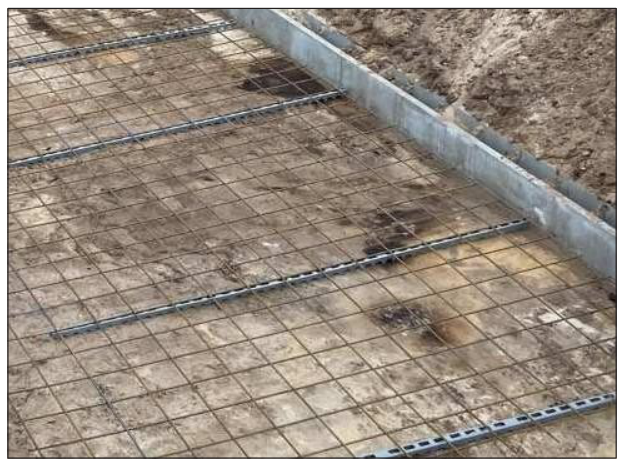
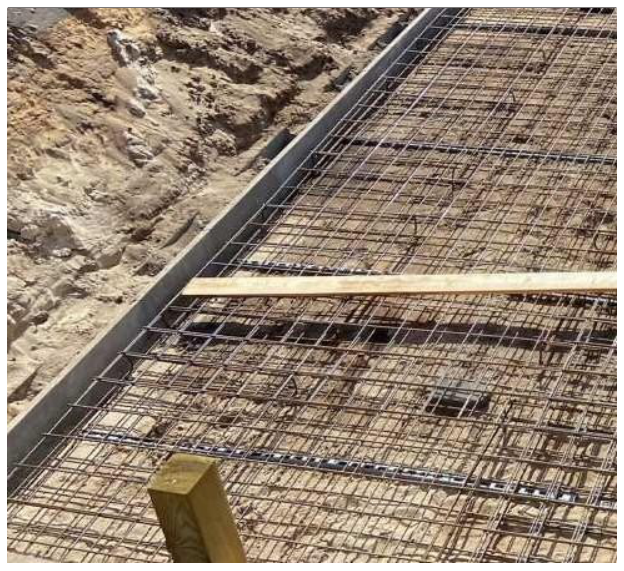
The base slab is usually 20 cm thick and is reinforced with two layers of Q257A reinforcing mesh, with a concrete cover of 3 cm (top and bottom). However, the exact thickness must be determined by a construction specialist according to the condition of the ground.
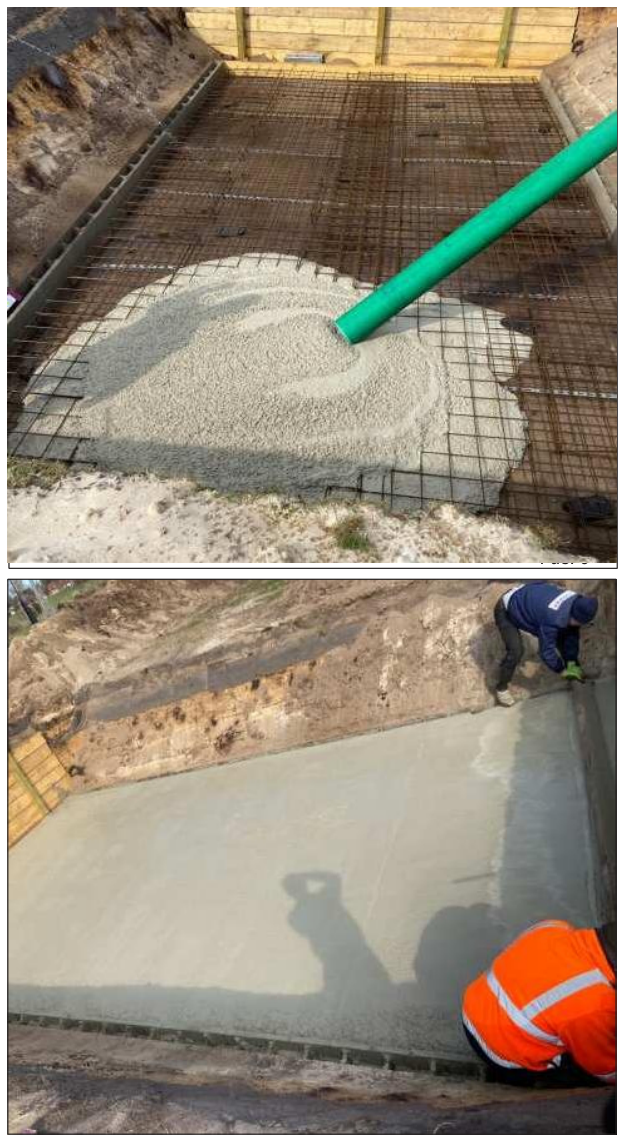
Next, using a straight edge, level the filled formwork completely so that it is perfectly horizontal, and smooth the concrete surface.
It is recommended to place along the whole perimeter, at intervals of 75 cm, a U-shaped iron bar of 20 × 4 × 20 cm, with the open side towards the still-wet concrete, so that the first course of blocks can later be fixed with cable ties.
PROFI High Level kits include main drains. They must be embedded in the base slab (or in the filtration circuit), because the suction zone of the Slim skimmer is very narrow. The main drain prevents the pump from running dry if the water level accidentally drops below the suction zone of the skimmer. Also follow the separately supplied instructions.
5.2Connecting elements (angle clips)
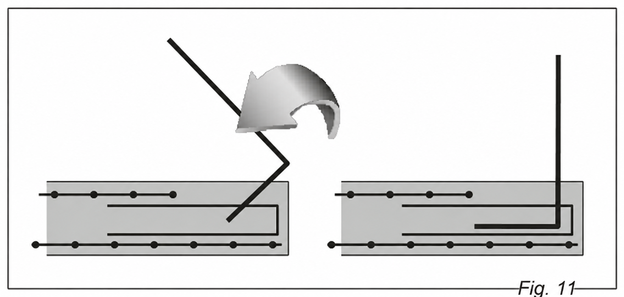
To connect the base slab with the pool walls, 12 mm thick connecting clips are used (dimensions 65 × 46 cm or 65 × 20 cm). Their anchoring secures the connection between the slab and the walls.
Fitting the angle clips at a later stage makes it easier to level the concrete base. Once the base is levelled, mark the internal dimensions of the pool with a string line. Then take a block as a template and press it onto the still-wet concrete, starting at a corner. The other imprints will serve as a reference for fitting the clips.
Before fitting the clips, the concrete must have hardened so that the clips do not tip over.
- The clips are fitted in a staggered pattern: the shorter clip (65 × 20 cm) on the inside of the pool and the longer one (65 × 46 cm) on the outside.
- Do not fit clips in the corner cavities!
- Place the clips with a slight incline so that they slide in under the top layer of the reinforcing mesh.
- Once all the clips are in place, smooth the surface of the first course of blocks again. A flat base is the foundation for seamless assembly and a precondition for the best wrinkle-free fitting of the liner.
5.3Installing the formwork blocks
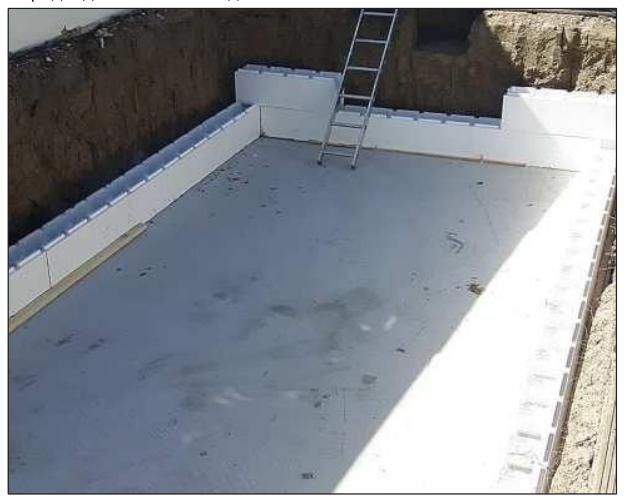
Check the internal dimensions of the pool. The diagonals must always be the same length. The blocks can then be fixed with cable ties to the U-bars previously placed in the base slab. For extra safety, the blocks can also be tied to each other with cable ties.
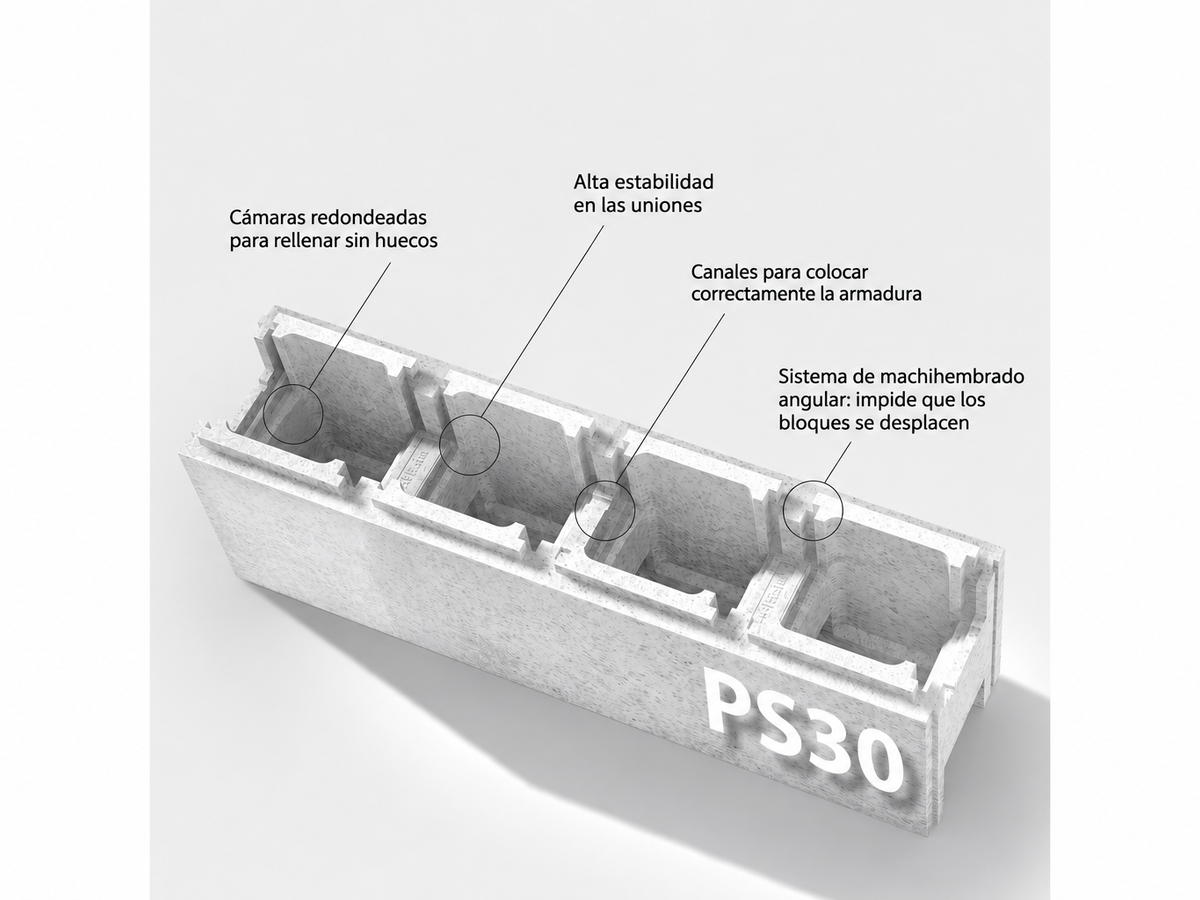
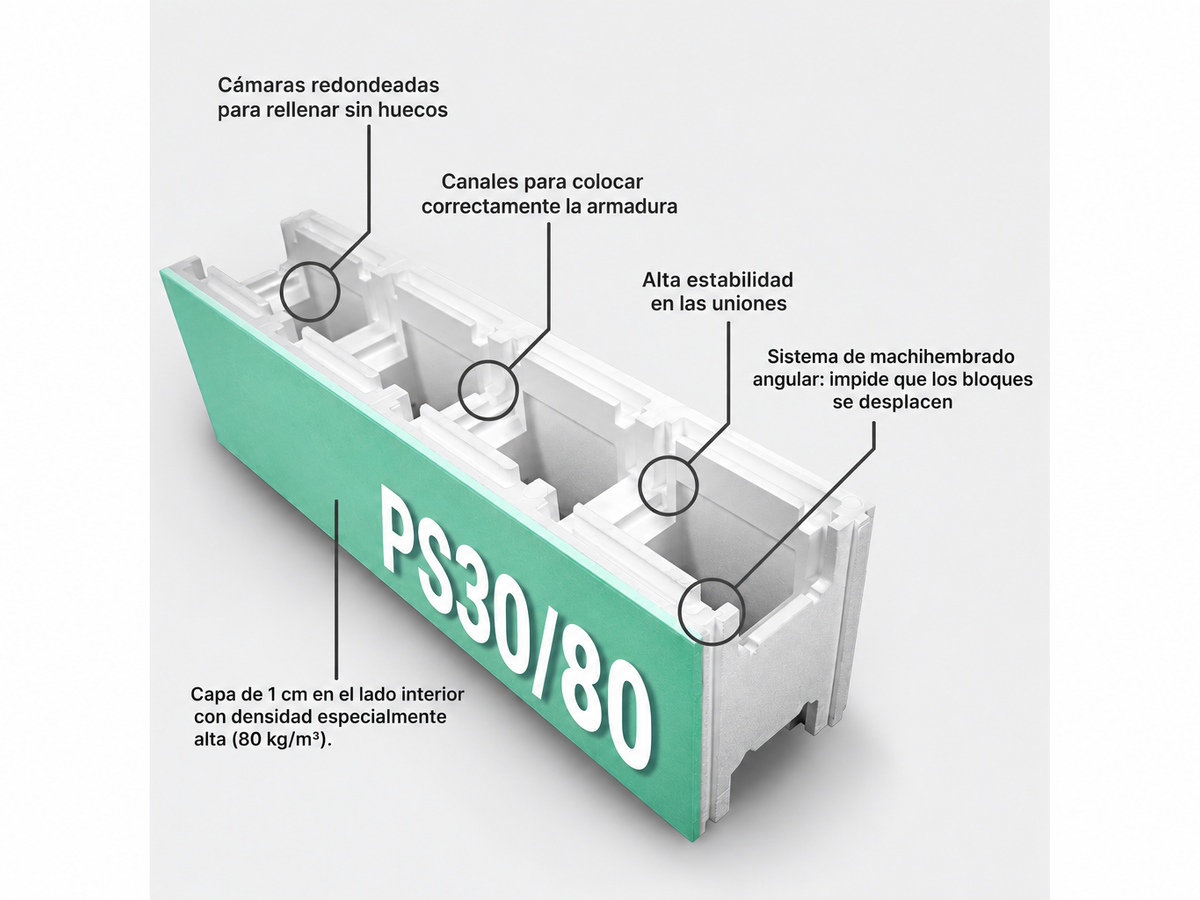
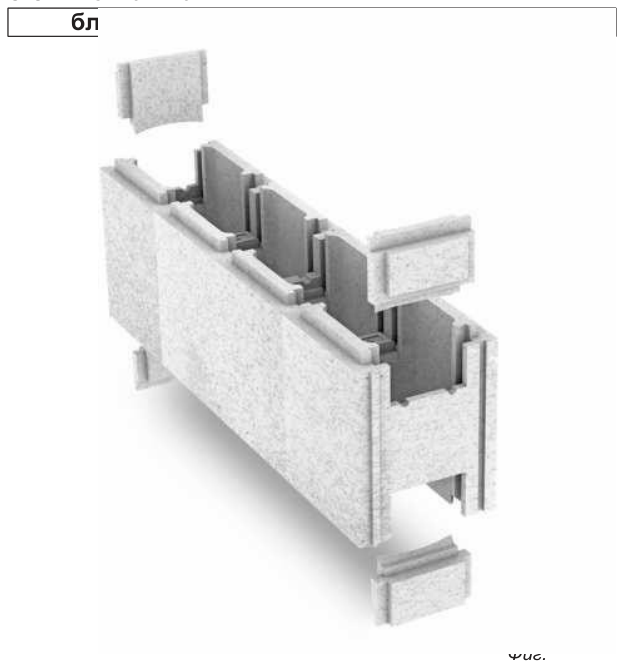
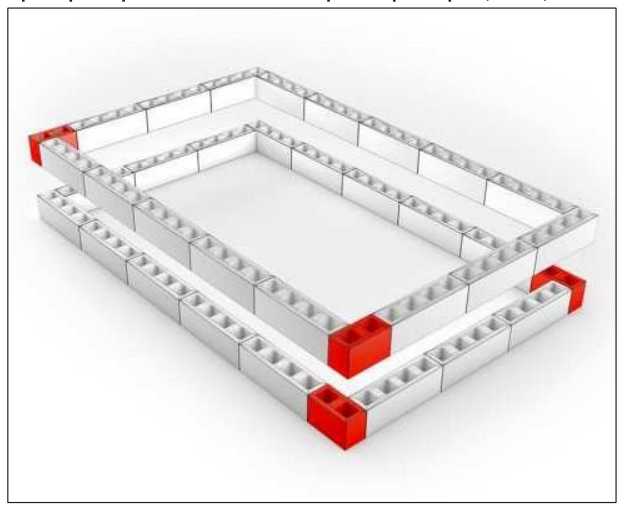
The pool walls are usually built as a combination of corner joints and interlocking courses or staggered joints (the courses are offset). Here, too, some blocks will have to be adapted or cut to size.
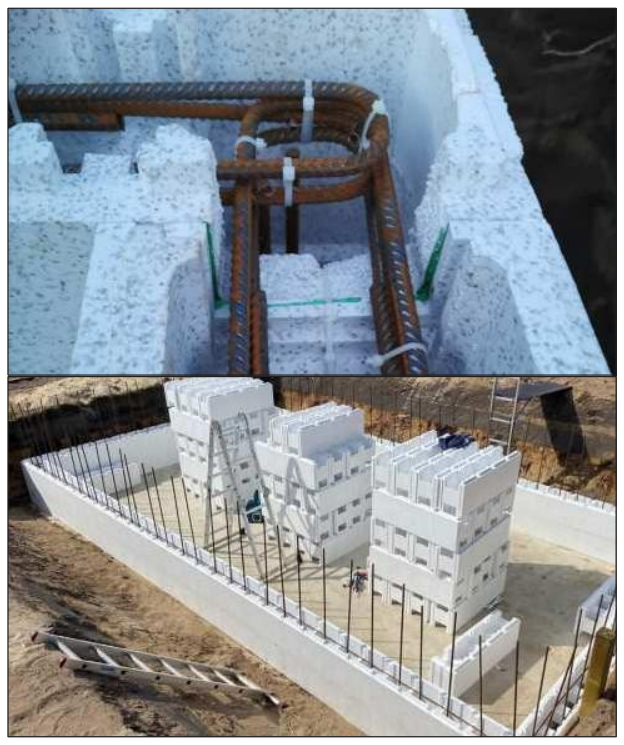
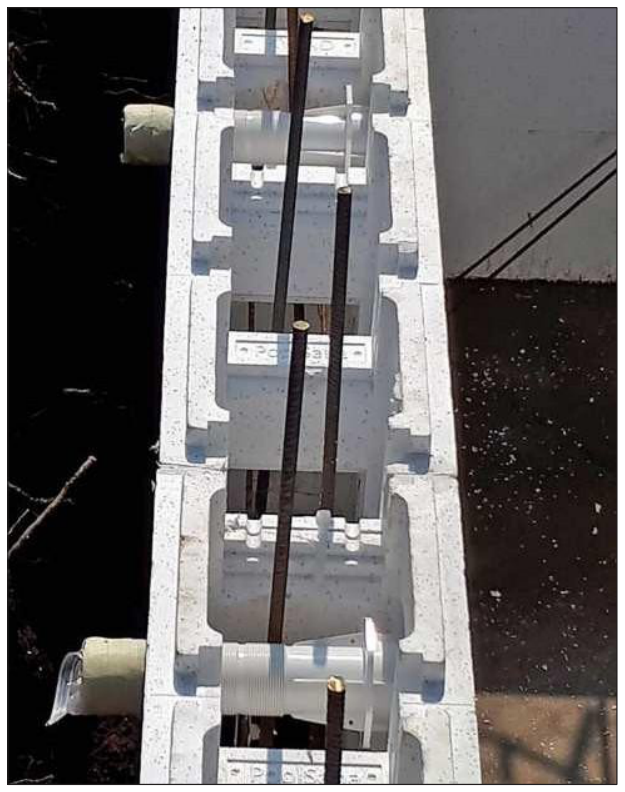
Each course must include a double ring reinforcement of 6 mm reinforcing bars, as well as two 60 × 10 × 60 cm U-profiles at the corners. Place the ring reinforcement in the recesses provided for it in the blocks.
Measure the outer dimensions of the pool. Around the perimeter of the base, place two 6 mm reinforcing bars (perimeter reinforcement). The ends of the bars must overlap by at least 30 cm (the two ends can be tied together with cable ties or similar). The corner joints are made with two 60 × 10 × 60 cm U-profiles, also of 6 mm reinforcement.
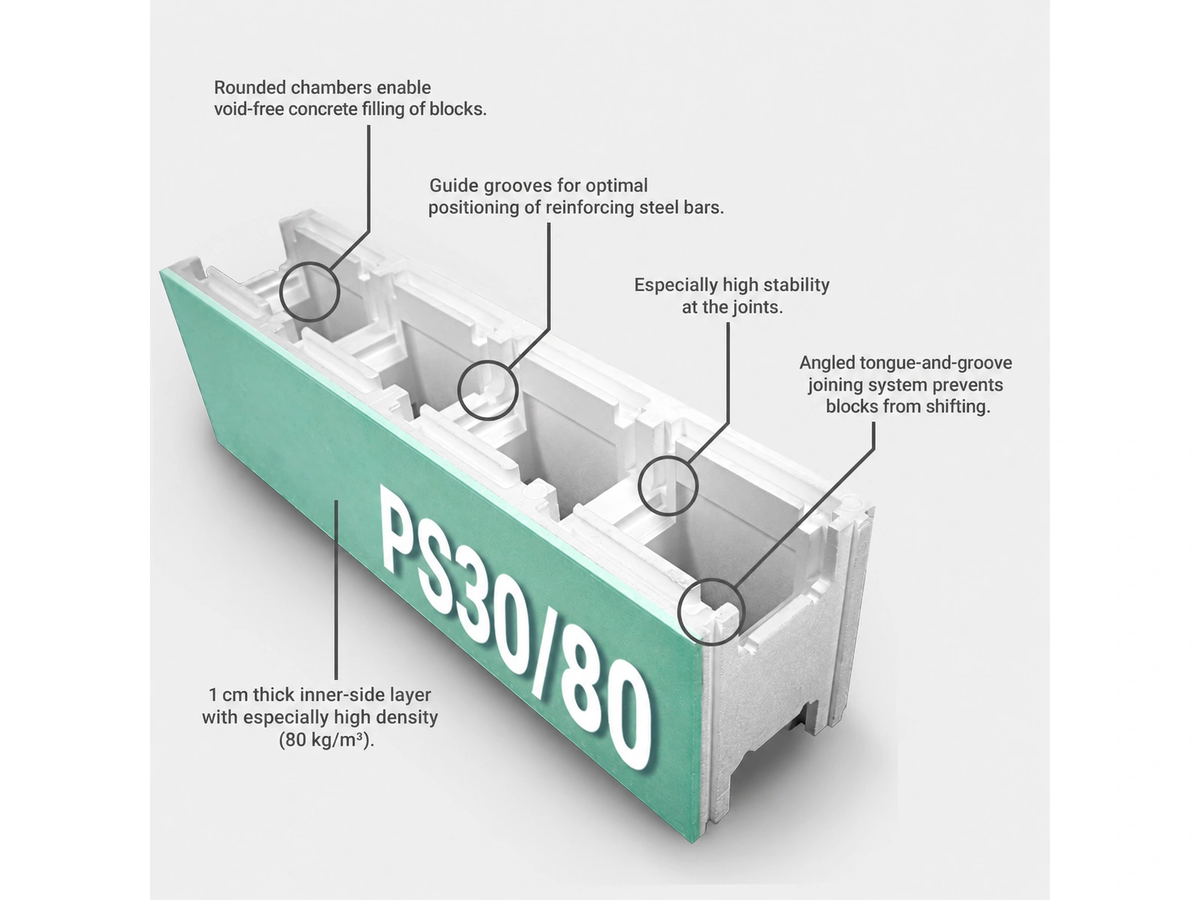
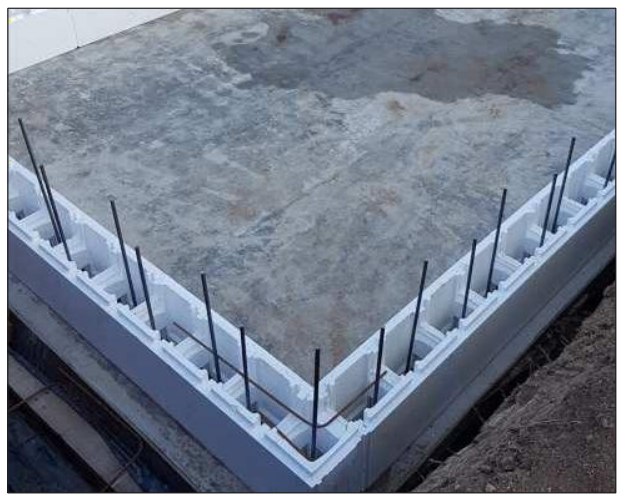
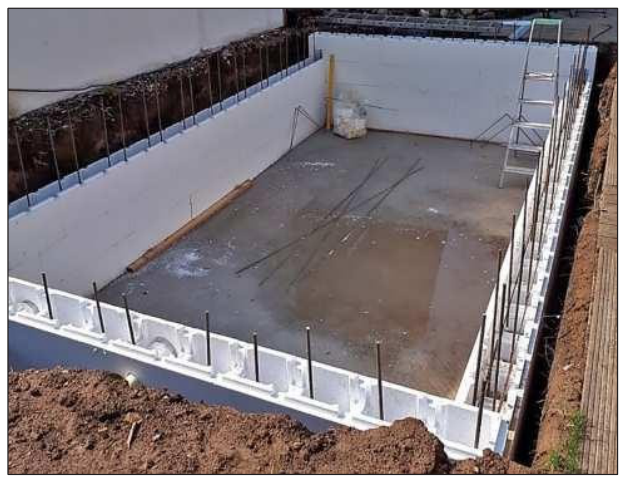
Place the first course of formwork blocks over the connecting reinforcing bars protruding from the base slab. If necessary, the block is cut to size; there are cutting marks every 25 cm for this. The corners are formed with two formwork blocks joined at their ends. The side projection of one of the blocks is cut off so that no joint is formed. Both corner blocks must be cut at the bottom so that the reinforcement can be placed correctly and the concrete can later spread freely around the corner. Use the caps from the kit to close the block that remains open on the outer side.
In each cavity, vertical reinforcement is provided with 1 reinforcing bar of 12 mm each, about 1.40 m high (with a pool depth of 1.20 m this corresponds to a height of 1.10 m), alternating the inner and outer offsets so that they match the connecting reinforcement. The steel bars are tied to the perimeter ring reinforcement with cable ties. The corners are reinforced with 2 pcs of 12 mm reinforcing steel each.
Example pool project with internal dimensions of 5.00 × 3.00 m:
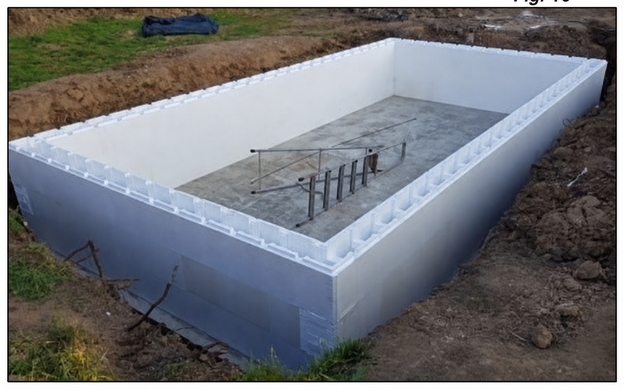
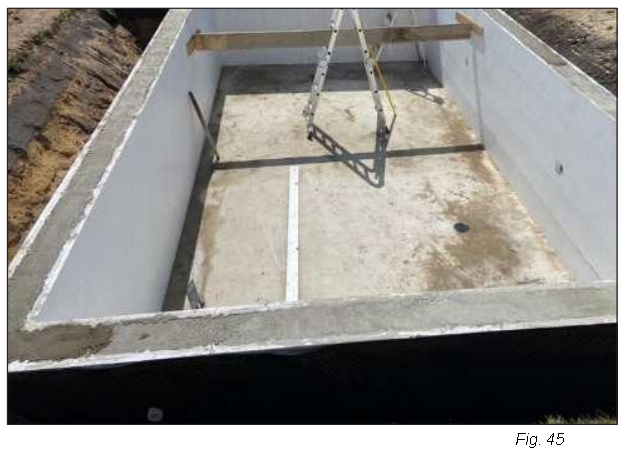
Top course of blocks: build a support surface for the two upper iron bars. The top course is reinforced with a ring reinforcement frame of 4 reinforcing bars of 12 mm. The horizontal U-profiles (60 × 10 × 60 cm) in this course are also 12 mm thick and four are used per corner. The 6 mm U-bars (20 × 10 × 20 cm) are fixed to the vertical reinforcement, among other ways, also with cable ties. In addition, the upper edge of the polystyrene block is trimmed with a utility knife to obtain a flat surface for the later installation of the hanging profile.
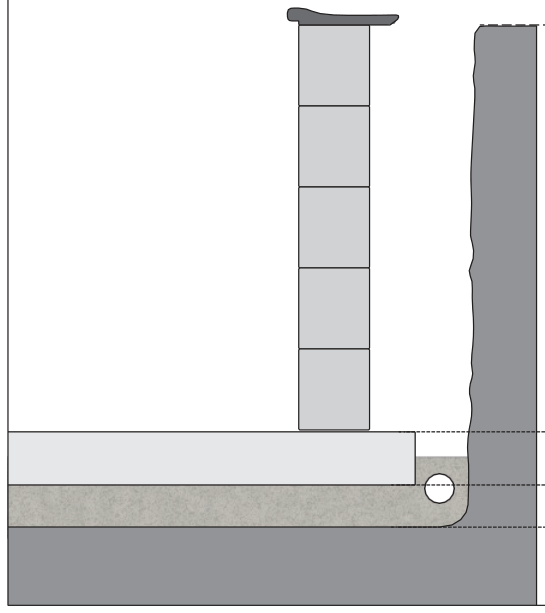
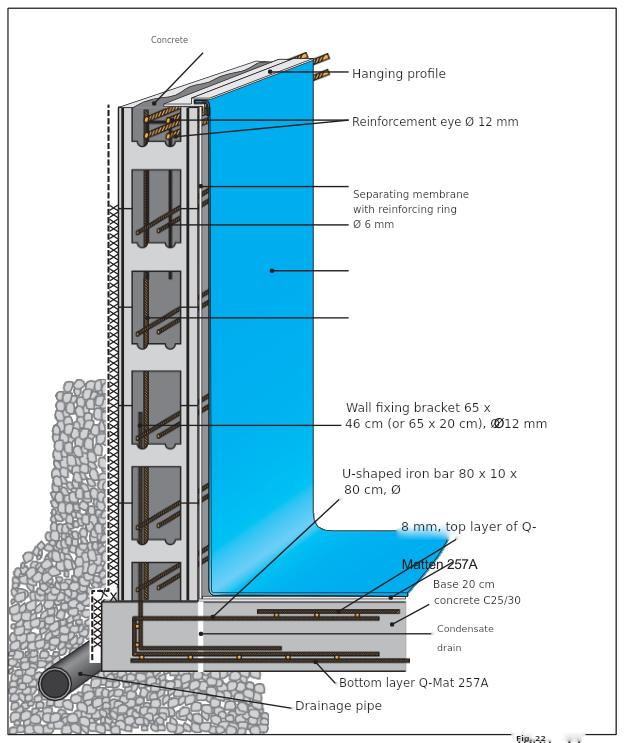
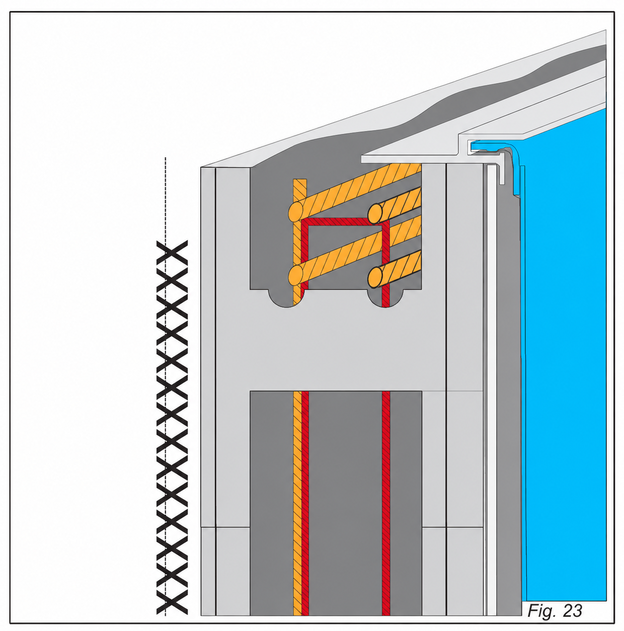
The section drawing (fig. 22) shows: concrete, hanging profile, eyelet for Ø 12 mm reinforcement, separating membrane (geotextile) with Ø 6 mm reinforcement ring, wall fixing clip 65 × 46 cm (or 65 × 20 cm) Ø 12 mm, U-shaped iron bar 80 × 10 × 80 cm Ø 8 mm, top layer of Q257A reinforcing mesh, 20 cm C25/30 concrete base, condensate outlet, bottom layer of Q257A mesh and drainage pipe.
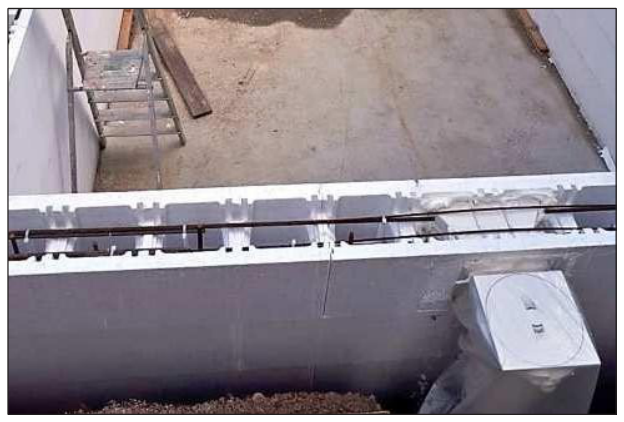
When building the walls, make sure that the embedded components (skimmer, return inlets and, optionally, lights and counter-current units) are positioned precisely. The installation dimensions are given in section 6. Depending on the size of the component, it may be necessary to interrupt the reinforcement at the installation point.
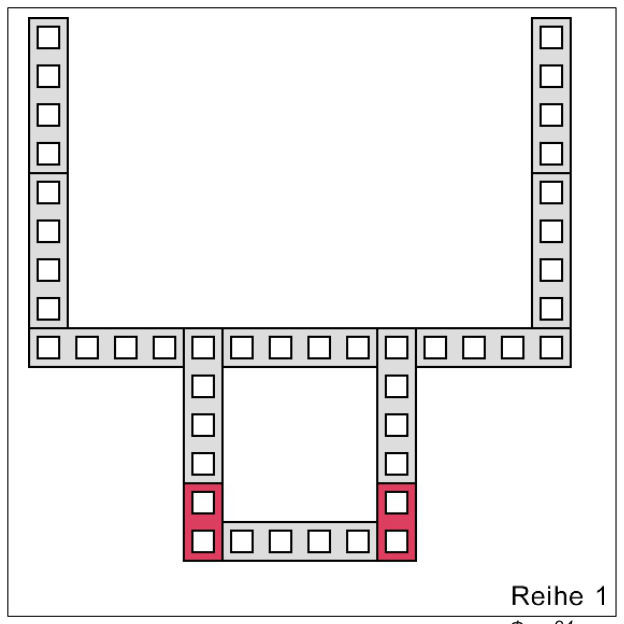
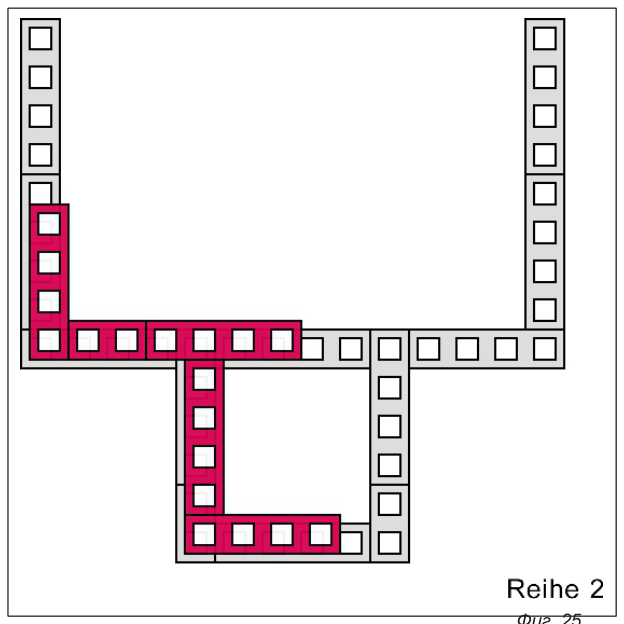
Installation example for a pool 3.00 m wide with an adjoining 1.00 × 1.00 m plant shaft (optional) – courses 1 and 2:
6Installing the components
To install the components you will need: a circular saw, a hole saw, a hand saw, a sharp knife, quick-drying gas-free construction foam and a tape measure. Also follow the assembly instructions that come with each component!
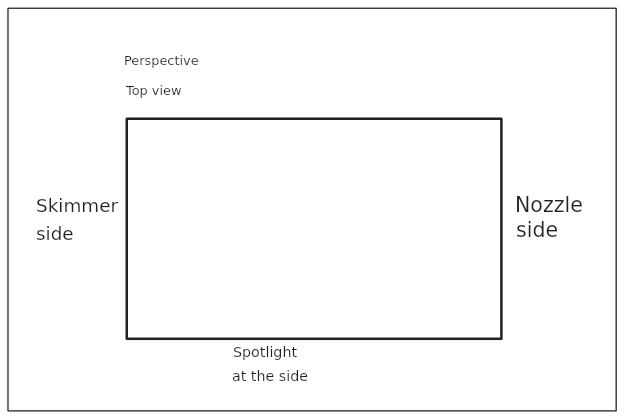
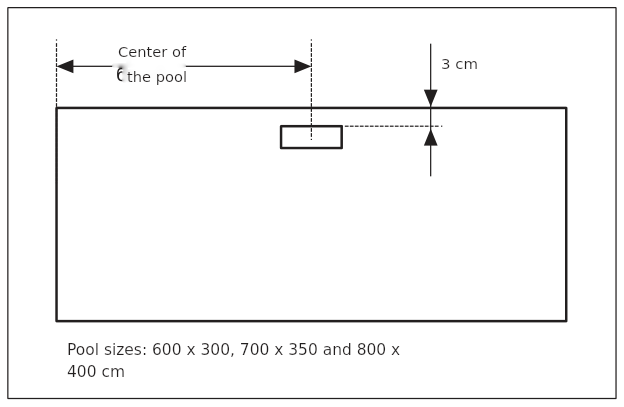
Layout of the components:
6.1Skimmer and inlets
View from the skimmer side (for pools of 600 × 300, 700 × 350 and 800 × 400 cm):
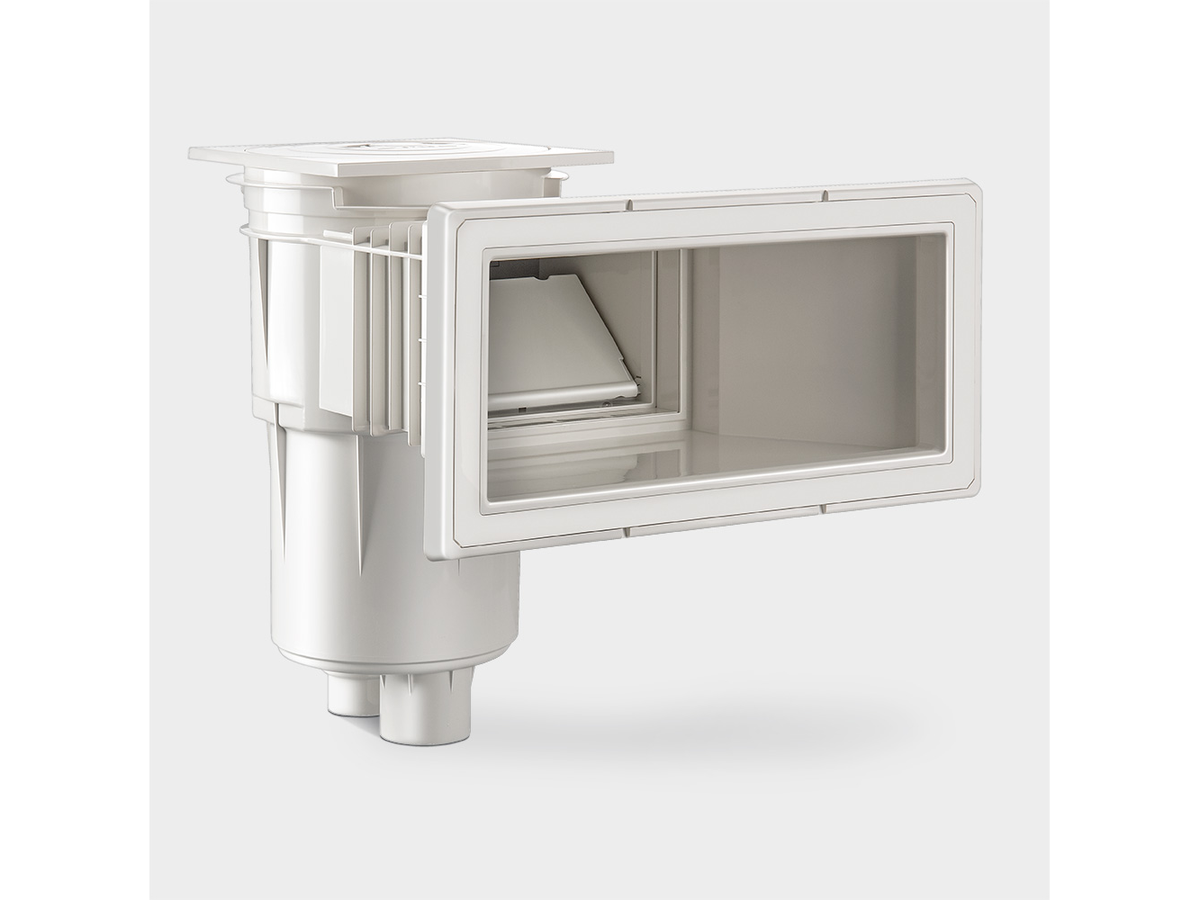
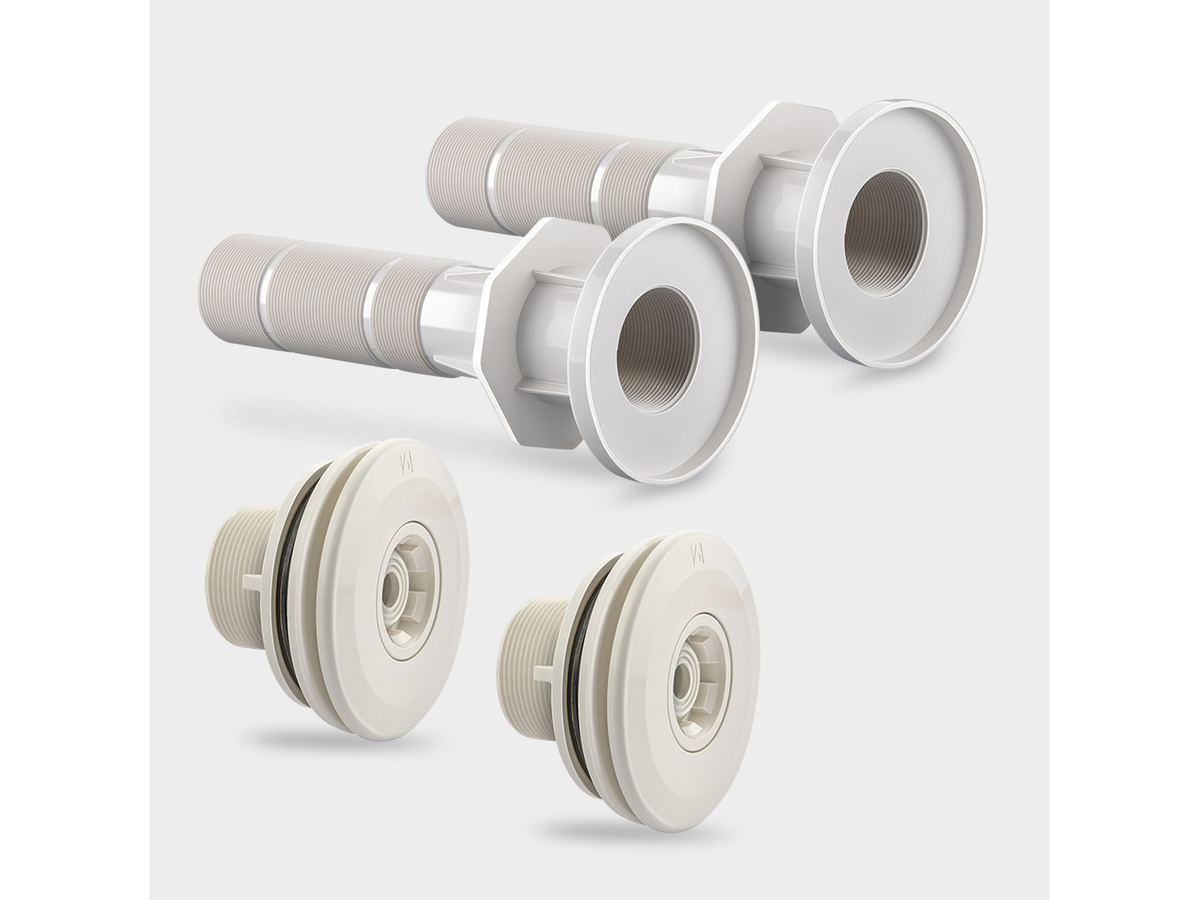
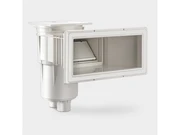
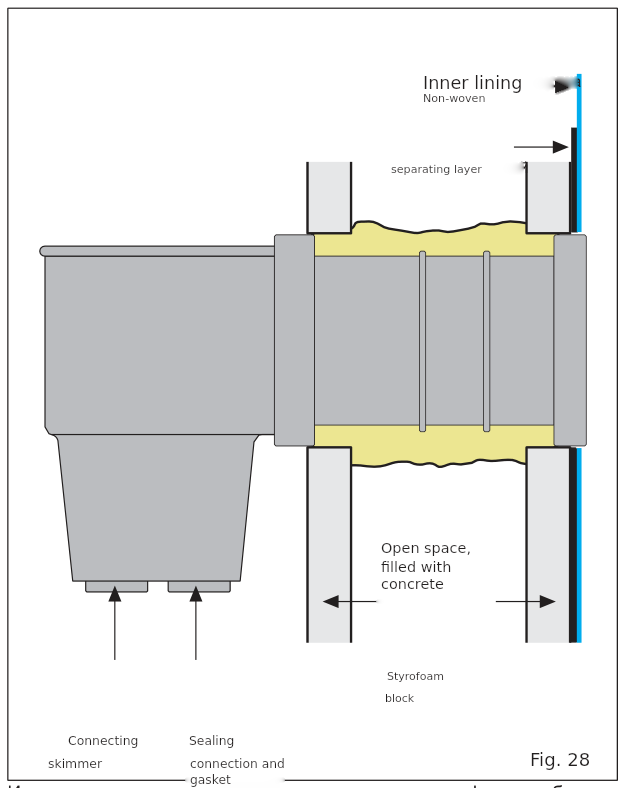
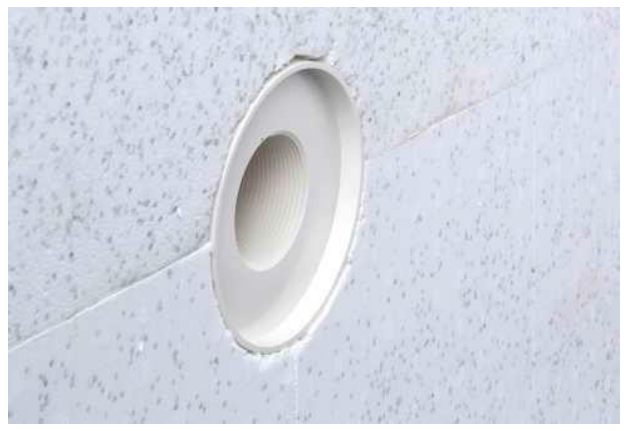
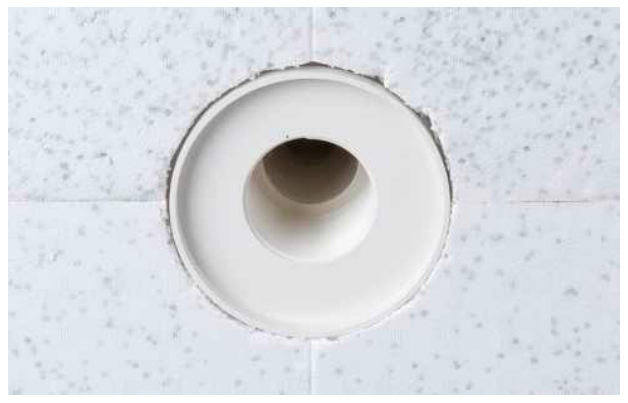
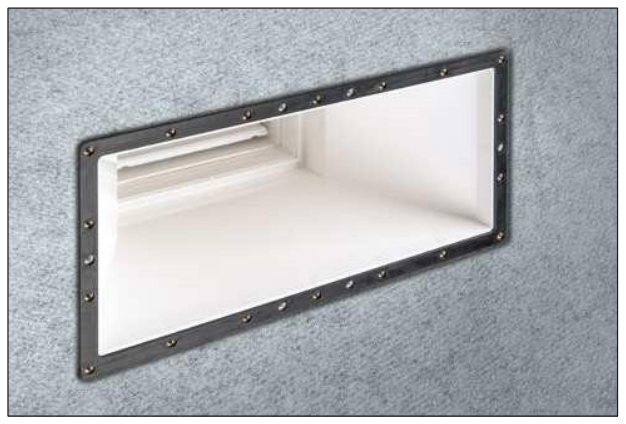
Cut the corresponding recess for the skimmer in the formwork block and position the skimmer so that the flange frame is flush with the finished wall. The skimmer can then be fixed with construction foam. Keep the threaded sleeves clean by covering them with tape.
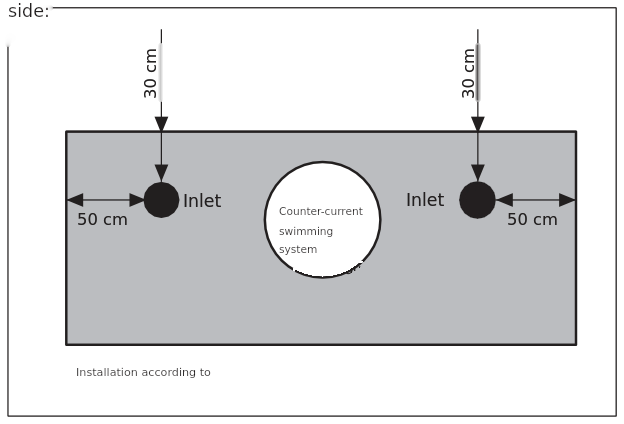
View towards the inlet: the layout of the two return inlets (30 cm from the top edge, 50 cm from the side ends of the wall) and, optionally, of the counter-current unit is shown in fig. 29.
The walls of the sleeves must also be fitted so that they sit snugly against the inner side of the formwork block.
The counter-current unit is optional and is not included in the package.
6.2Underwater lights (optional; not included in the package)
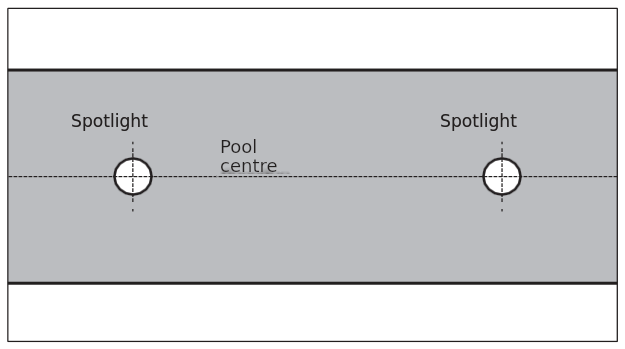
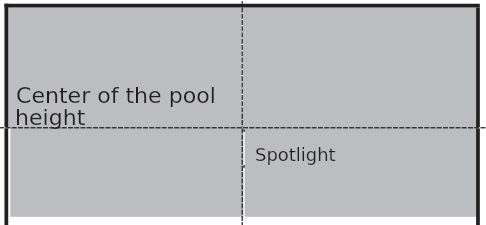
View from the light side: the layout with two lights is shown in fig. 34.
If only one light is used, it must be centred both vertically and horizontally in the masonry (centre of the width and centre of the height of the pool).
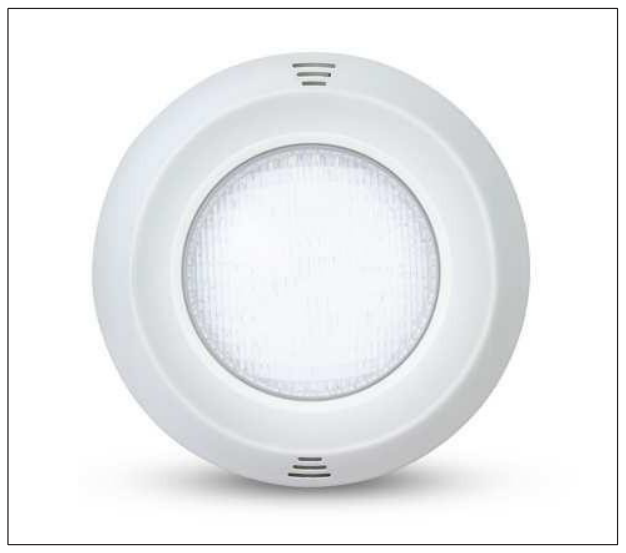
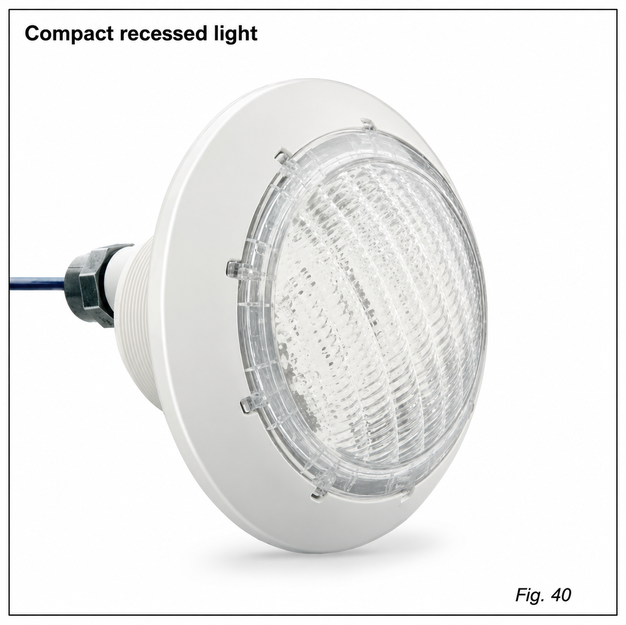
Light types: PAR56: standard recessed niche; compact light: compact recessed niche.
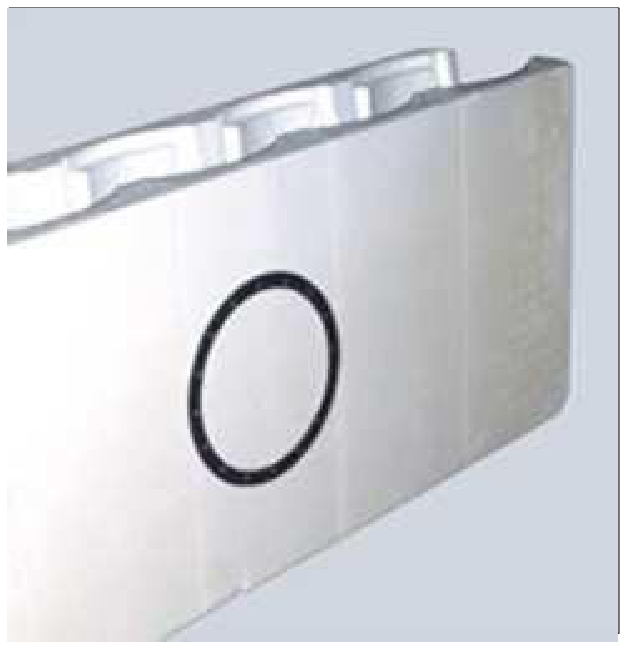
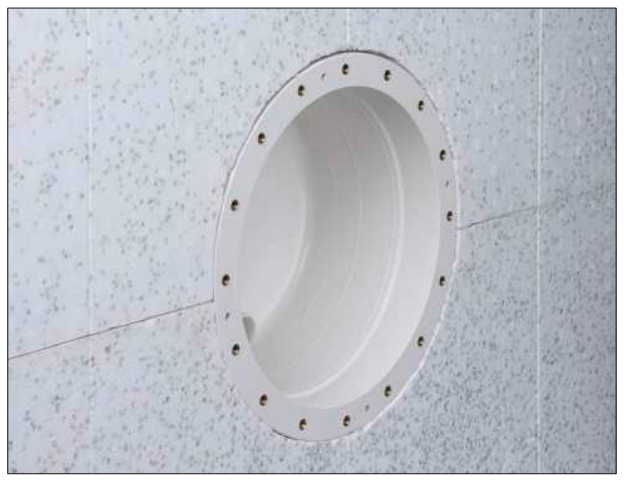
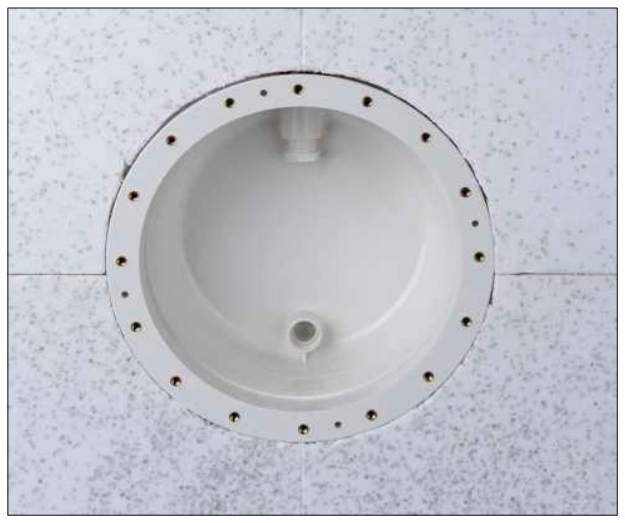
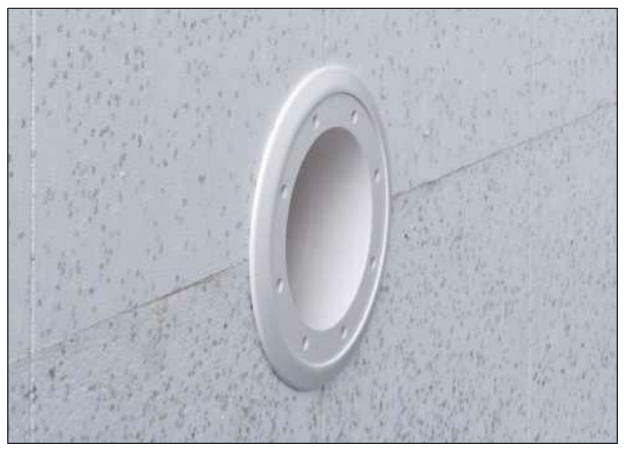
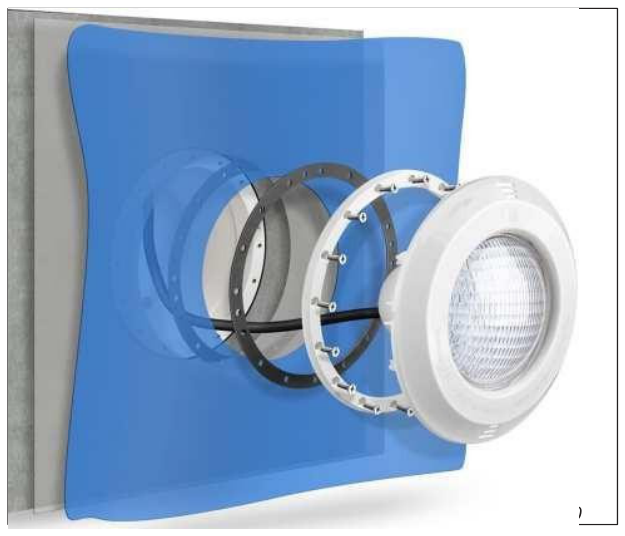
Standard PAR56 recessed niche: use one of the two sealing strips supplied to mark the outline of the mounting opening and cut out a niche in the formwork block. When fitting the niche it is important, even if it has an edge that projects inwards, that the niche frame is fitted flush with the wall.
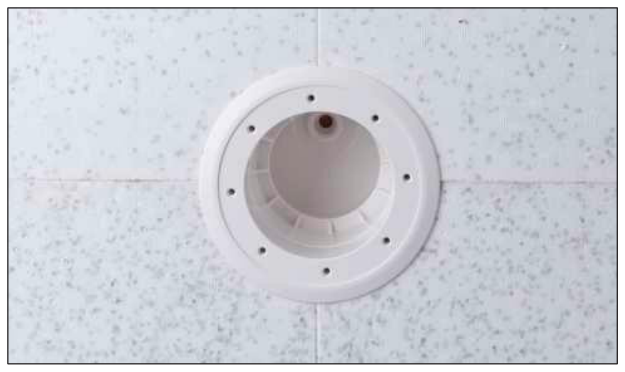
Compact recessed niche: with the compact light, the niche is inserted directly in the same way as with the standard PAR56 recessed housing. Here too the flange frame must be flush with the formwork block.
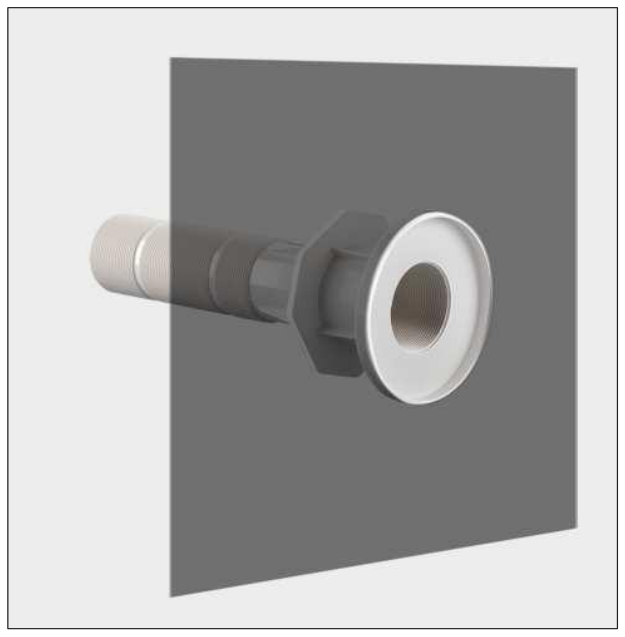
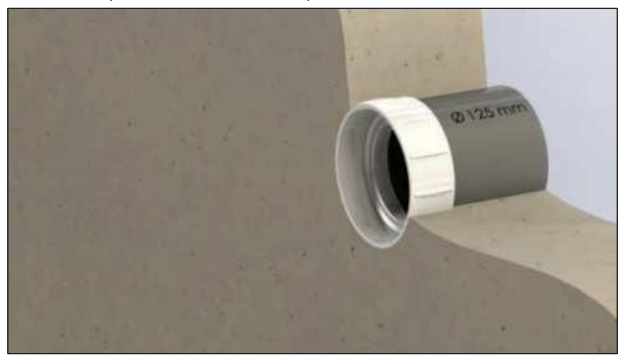
Alternatively, the lock nut can be extended with a length of 125 mm diameter pipe and this whole assembly inserted into the pool wall. The recessed housing itself is then screwed into the lock nut.
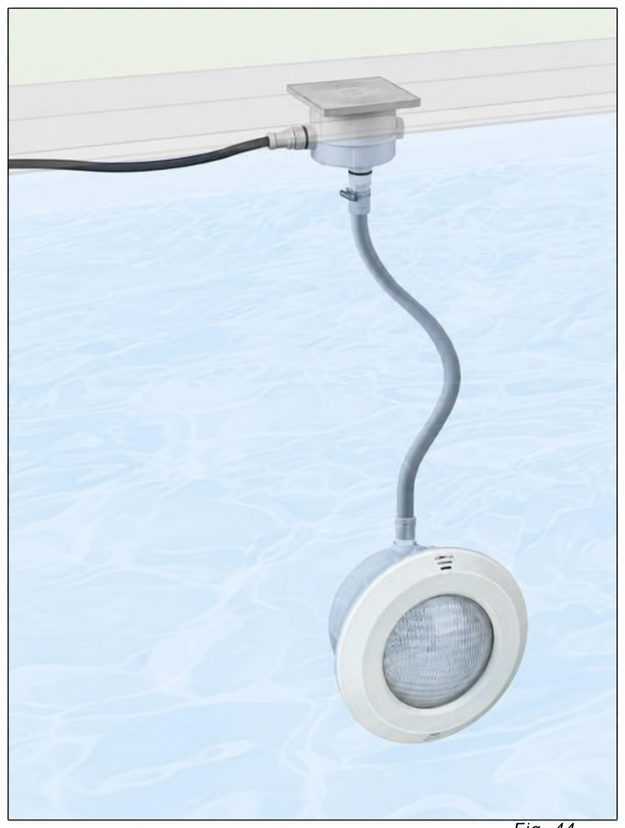
On both types of light, the cable entry hole must be at the top of the light housing. Each light needs a junction box, which must be fitted above the water level so that no water gets into it. All electrical connections must be made only by a qualified electrician.
Position the lights so that their light is always directed away from the house or the terrace.
7Filling the formwork blocks
The courses of formwork blocks are normally filled in three layers on all sides. Under no circumstances should the filling be done entirely from one side.
- Pumping the concrete must be carried out by an experienced specialist company. In all cases it is mandatory to use a drop reducer (extension hose of the concrete pump).
- It is recommended to tie the courses of blocks together horizontally and vertically with cable ties before filling, so that the blocks do not lift and no gaps form. Manual filling is also possible.
- Use C25/30 concrete to fill the formwork blocks.
- To avoid cavities in the concrete, compact it carefully with a compacting rod.
8Installing the hanging profile and the underlay
8.1Installing the hanging profile
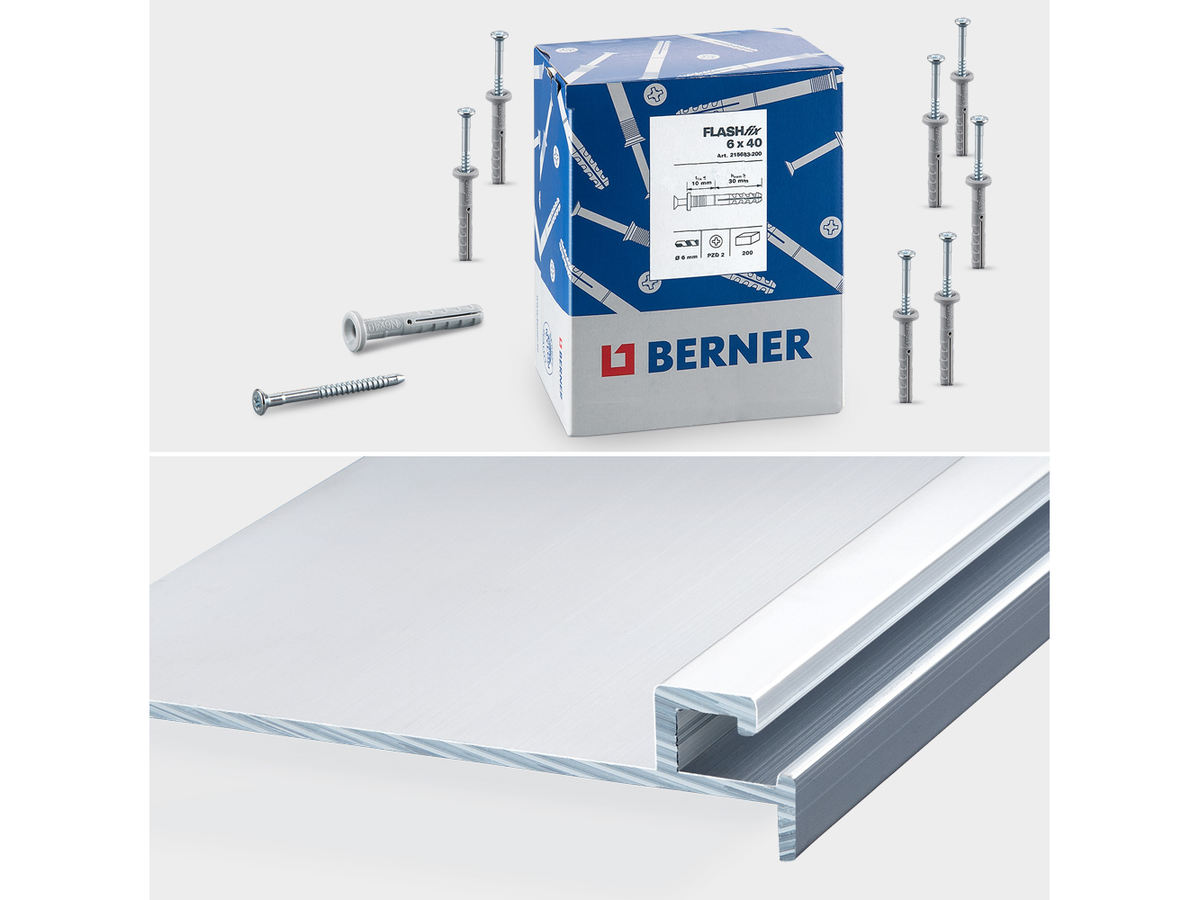
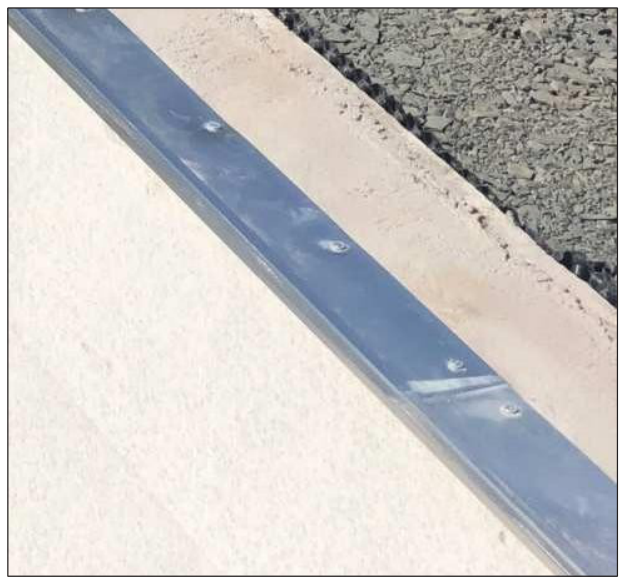
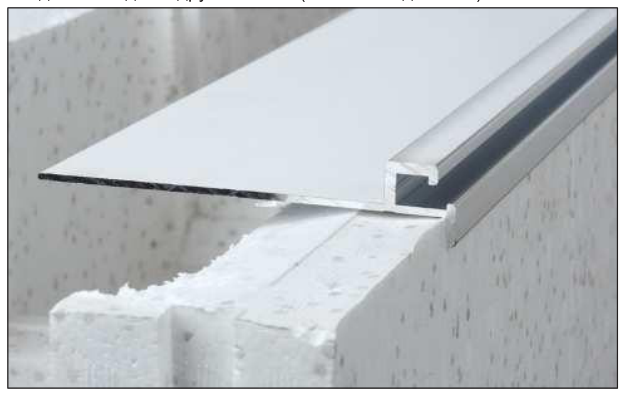
When fitting the liner fixing profile, make sure the profile sits firmly against the inner side of the pool. All concrete splashes must be removed to avoid possible unevenness.
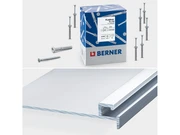
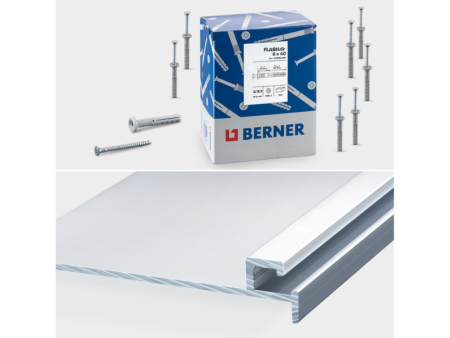
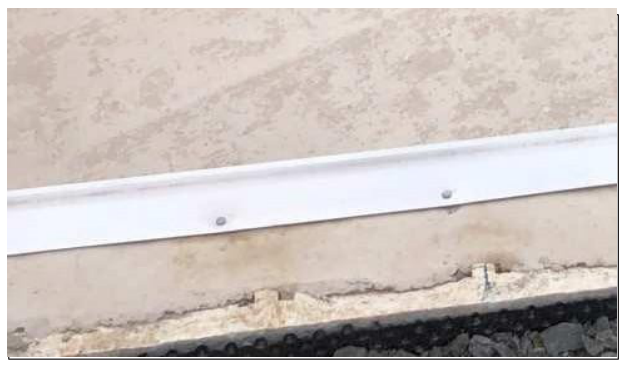
The profile strip is fixed to the top of the formwork blocks with impact anchors about every 25 cm. Make sure the strips are fixed perfectly straight along their entire length and width.
8.1.1Installing the hanging profile at the corners
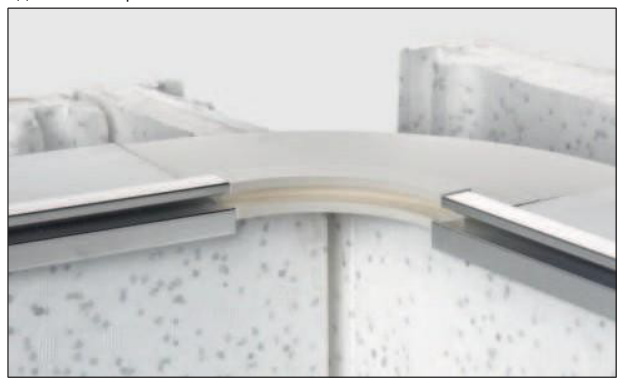
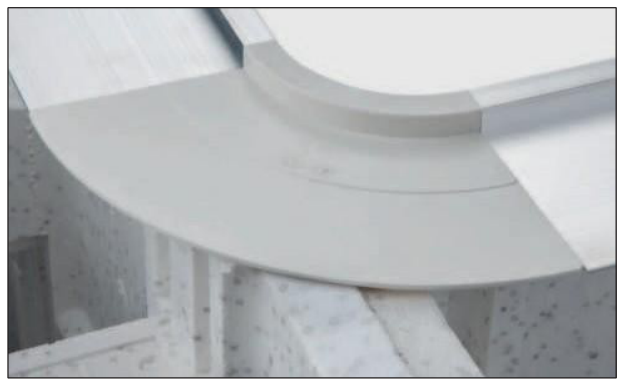
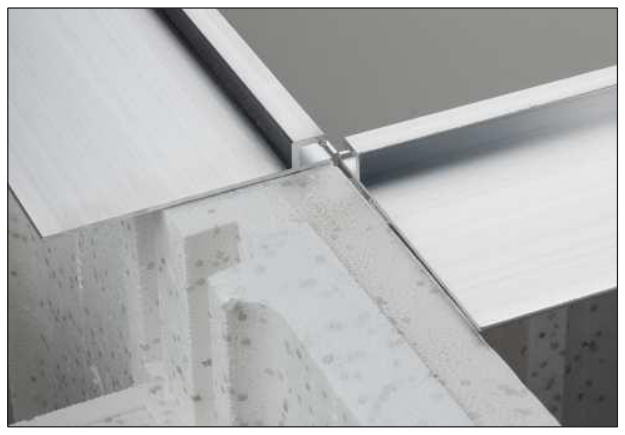
Depending on the type of liner, plastic profiles that are used at all four corners may be included in the kit. If they are included, the quarter-circle plastic corner profiles supplied must be placed at each corner of the pool so that the liner is held firmly along its entire length. If necessary, the length of the straight hanging profiles is adjusted so that there is enough room for the rounded corner profiles. The corner profiles must be aligned so that their front ends are flush with the straight hanging profiles.
If the plastic profiles are not included, only straight hanging profiles are used, which are not mitred but are joined to each other at the corners (angled joint).
Check your order confirmation to find out whether the plastic corner profiles are included or are required.
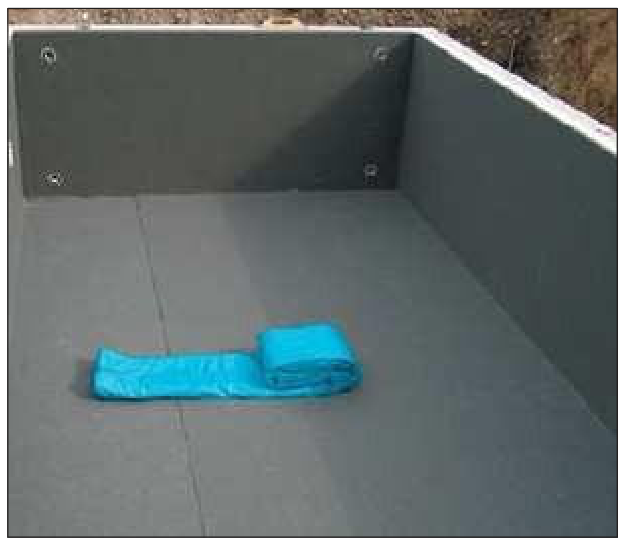
8.2Laying the non-woven fabric underlay (geotextile)
Before laying the geotextile and the liner, it is mandatory to drill 6–8 holes (at least 10 mm in diameter) in the concrete slab: one at each corner and in the middle of the long sides and, if necessary, of the short ones too. These holes serve to drain the condensation that inevitably forms behind the liner.
Also check that no gaps or cracks have formed between the polystyrene blocks when filling them with concrete. If so, fill them and use a mesh fabric.
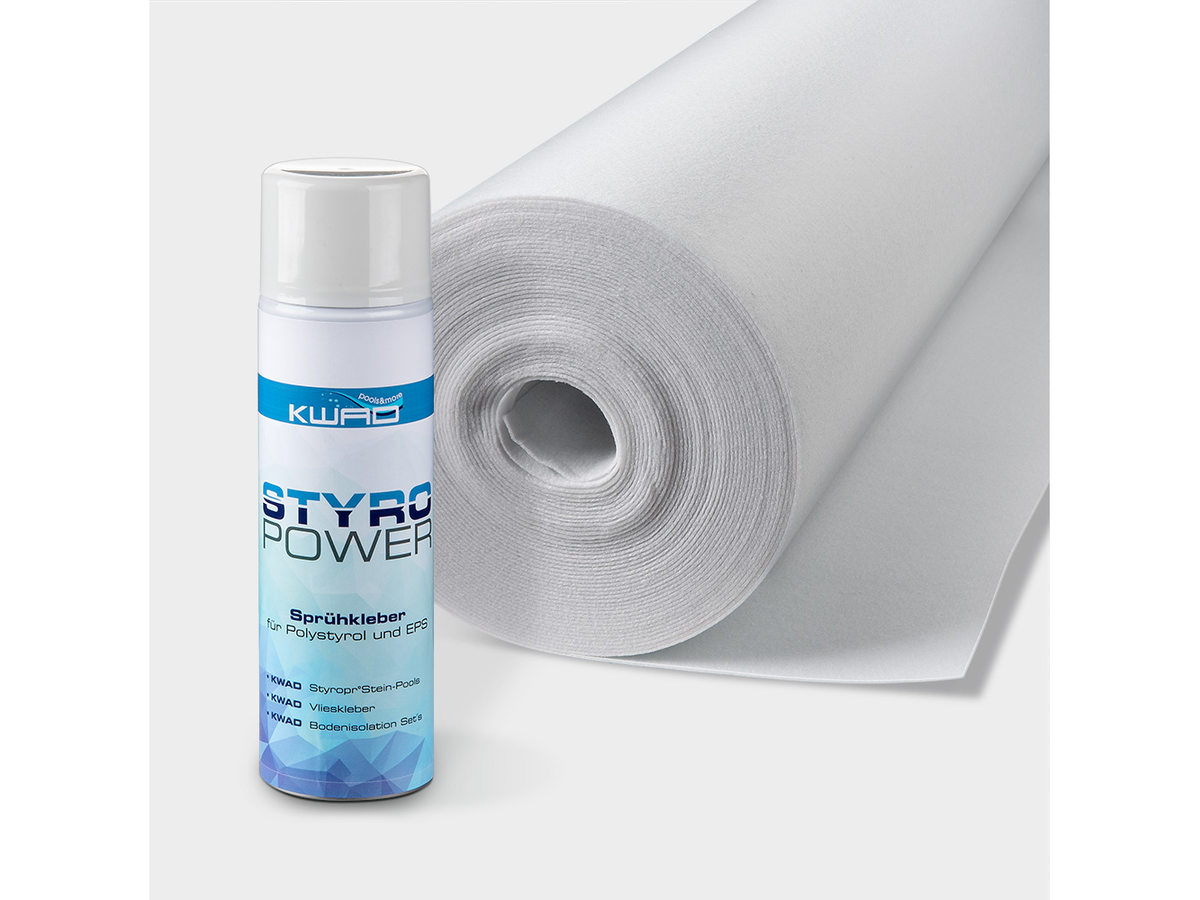
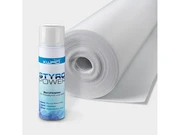
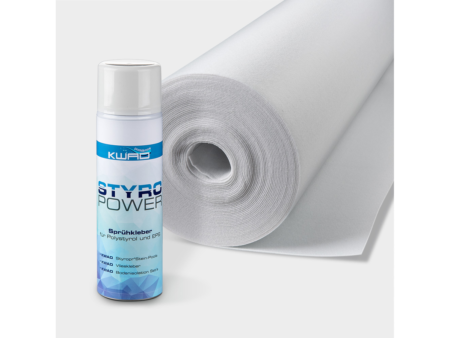
The non-woven underlay prevents direct contact between the pool liner and the polystyrene, since otherwise the polystyrene would draw the plasticiser out of the PVC liner.
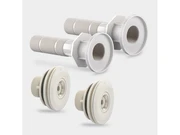
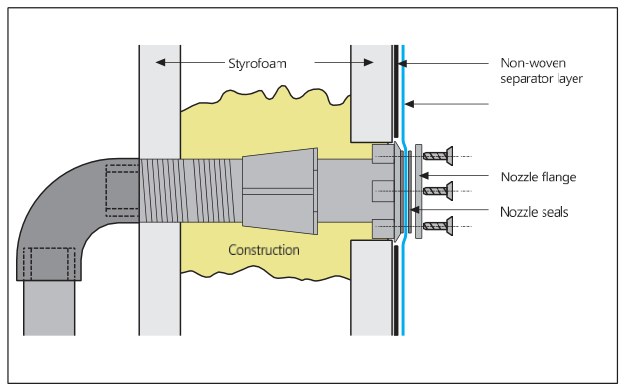
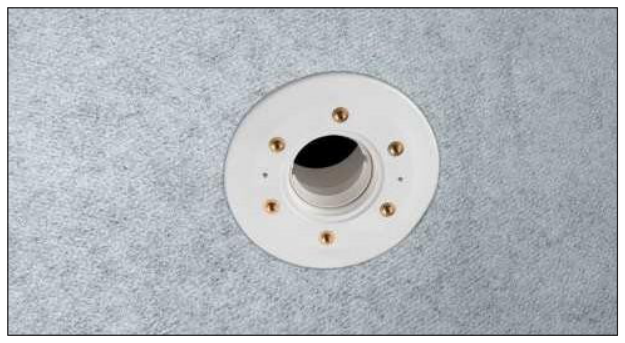
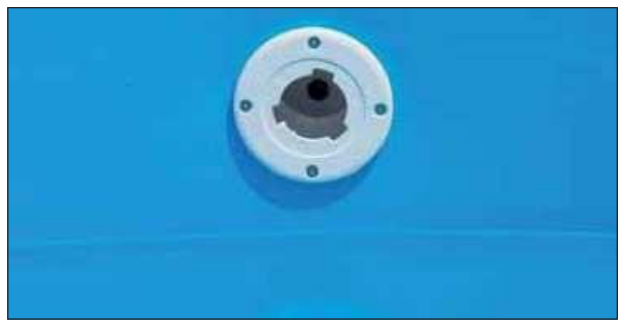
Before laying the geotextile, screw the return inlets into the holes in the wall. Seal the outer thread of the inlet housing with PTFE (teflon) tape and screw it in together with the seal into the wall hole (without screw holes) until the flange frame is flush with the surface of the pool wall. Remove the adjusting ring and the ball joint from the inlet; they are refitted together with the cover after flanging.
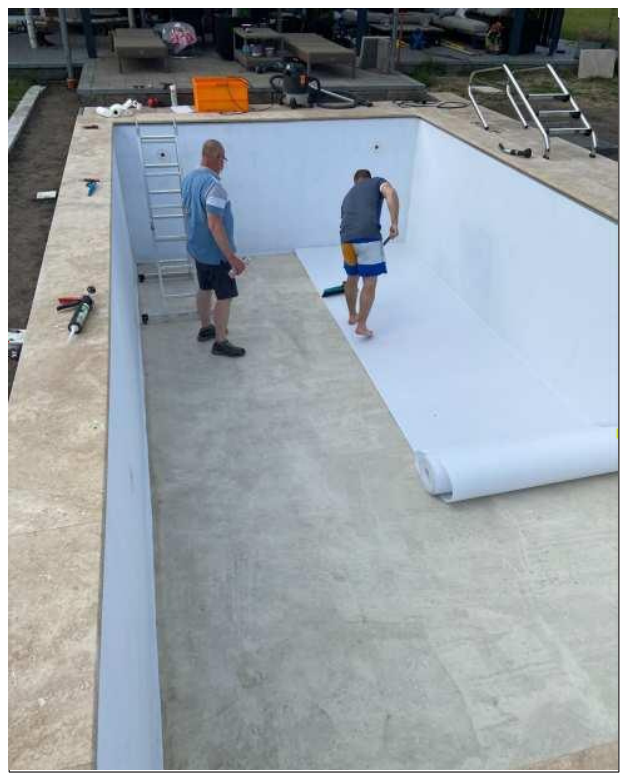
The geotextile is offered in different widths (1.5 m or 2.0 m). It is best to start laying it on the pool walls.
- Rolls 1.5 m wide: installation is horizontal along the wall. The whole height of the wall can be covered with a single roll. The excess above the width of the sheet is laid towards the base slab. When laying the underlay on the floor, the excess from the wall is left as a double layer under the floor underlay. Use spray adhesive to fix the underlay to the walls at specific points.
- Rolls 2.0 m wide: the underlay is laid vertically along the wall. Cut the geotextile so that it is about 5 cm longer than the wall. When laying it on the floor, the excess material is left in place to form a double layer. Use spray adhesive to fix the geotextile to the walls at specific points.
The underlay can also be fixed to the floor at specific points with spray adhesive. Make sure, however, that the strips are joined at the ends (without overlapping).
Once the geotextile is fully unrolled, it is cut to fit tightly around the embedded components. Do not stretch the geotextile! Then fit a seal on the flange frame of the skimmer, of the return inlets and, if there is one, of the underwater light.
9Installing the liner (sheet)
The liner must only be fitted at temperatures between +15 °C and +25 °C. Make sure the stated minimum temperature is also maintained overnight: nights, especially in spring, can be quite cold and otherwise the liner will not “warm up” quickly enough during fitting, especially if it has been stored outdoors. Do not fit the liner in direct sunlight! At too high a temperature the sheet is soft, stretchy and too large; at too low a temperature it is hard, barely elastic and too small (differences in size of up to 50 cm!).
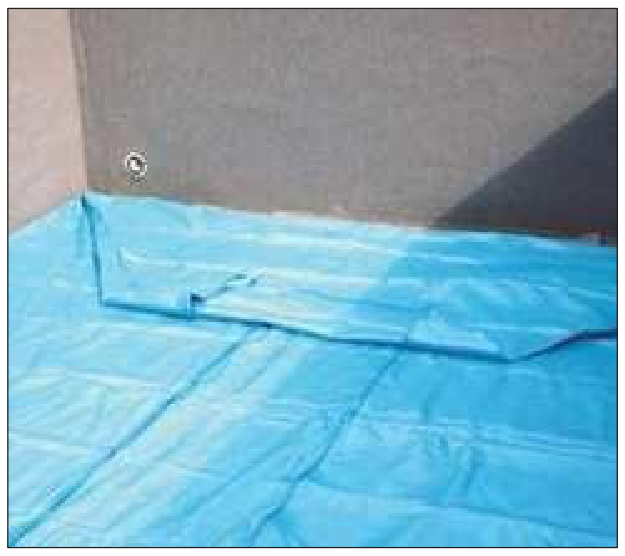
To compensate for expansion caused by temperature and water pressure, the liner is made slightly smaller than the pool. So place the liner in the centre of the pool and spread it out so that the welds on the floor are at an equal distance from the corners.
Make sure the vertical weld is not in the area of the skimmer, the return inlets or the lights, as otherwise watertightness is not guaranteed.
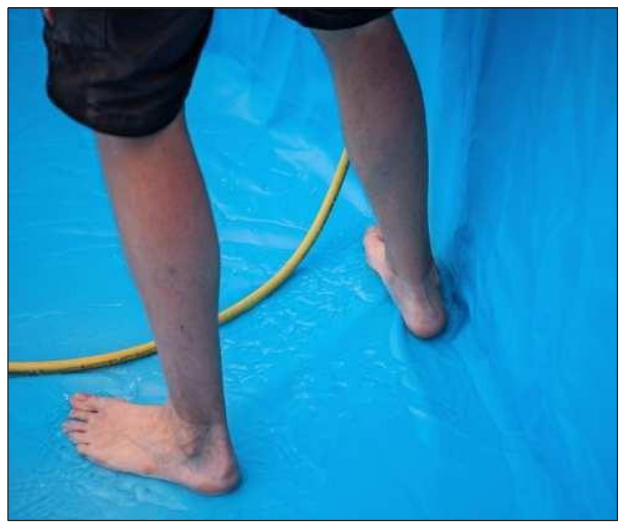
Walk on the inner PVC liner only barefoot or in suitable footwear.
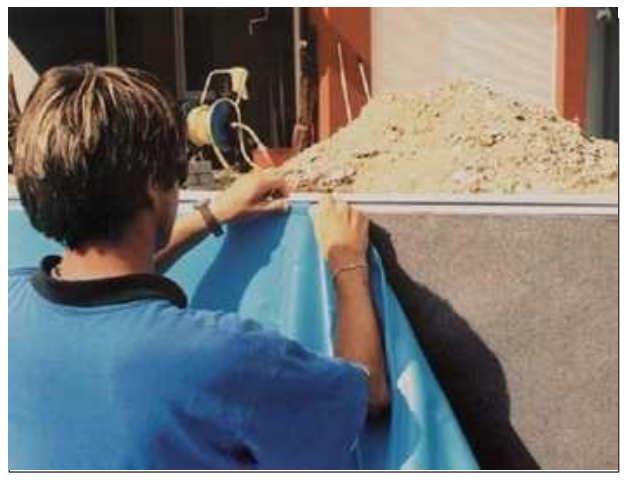
Hang the liner in the middle of each side in the hanging profile, so that it is fixed crosswise about one metre in the profile on each side. Then the sheet is fixed completely on each side, starting from the middle. Any diagonal wrinkles can be smoothed out by stretching the sheet slightly in one direction.
Next, smooth out the wrinkles from the floor towards the pool wall. Above all, make sure the seam of the liner, where the floor and the walls meet, lies exactly in the corner where the pool wall joins the floor. The liner must fit snugly everywhere before the pool is filled and have as few wrinkles as possible. You can correct any stubborn remaining wrinkles by filling the pool with about 3–5 cm of water and pushing the wrinkles outwards.
10Installing the system components / final assembly
When the water level is about 20 cm below the first component, flanging can begin. The following notes apply only to our components!
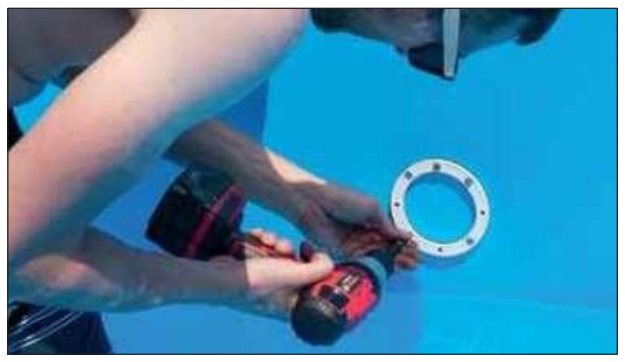
Return inlets: once the sheet is aligned, pre-drill the screw holes, for example with an awl. Stick the seal behind the flange, so that it sits between the sheet and the flange. Tighten the flange screws crosswise. Then cut the sheet along the opening. Finally, screw the ball joint and the adjusting ring back on and fit the cover.
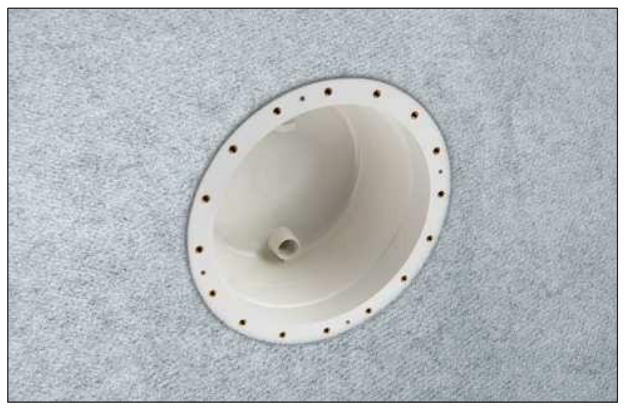
Skimmer: drill the screw holes, stick the seal behind the flange and tighten the screws crosswise; then cut out the skimmer opening and fit the lid. Fit the skimmer flap and the strainer basket.
Use the suction plate only in combination with the suction hose for cleaning the floor, not during normal filter operation!
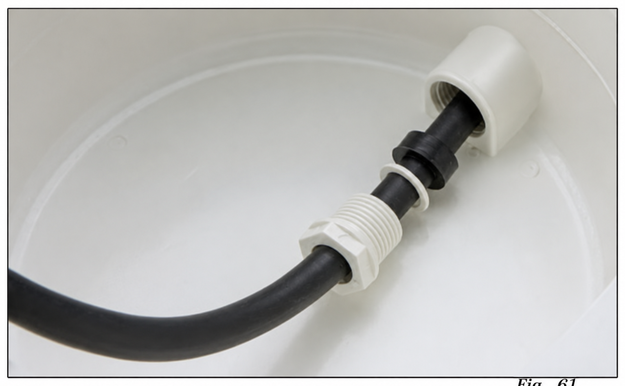
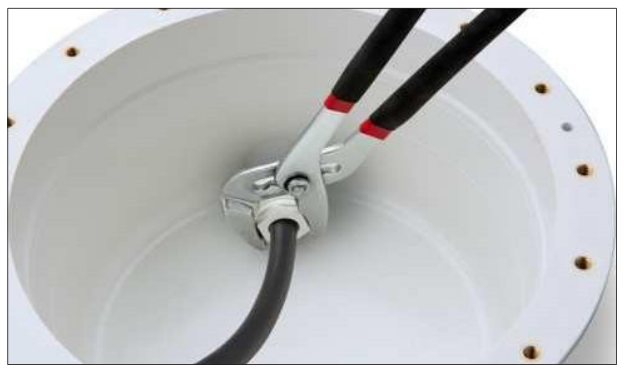
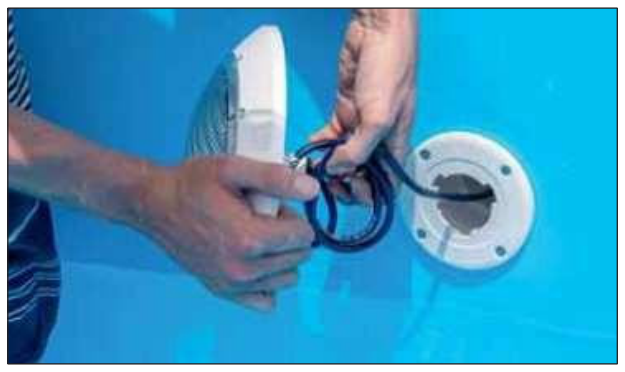
PAR56 light (optional; not included in the package): here too the screw holes are drilled first. Then a seal is stuck behind the flange and the flange is screwed on crosswise. Finally, the light opening is cut out. Unscrew the cable gland nut at the top of the mounting niche, slide the cable gland onto the cable (if necessary, use lubricant and pull the cable at an angle) and pass the light cable from the inside outwards to the cable gland. The excess cable must be long enough for the lamp to be taken out above the water level for replacement when the pool is full. Tighten the cable gland again, coil the cable around the light, slide the light into the niche and fix it with set screws if necessary. Finally, stick the last sealing washer onto the flange with the bolts and fit the remaining parts. Follow the assembly instructions supplied with the light.
Compact light (optional; not included in the package): stick a seal for holes onto the smooth rear of the flange. Then position the flange, drill the screw holes through the sheet with an awl or a similar tool and tighten the flange crosswise. You can now carefully cut out the opening with a utility knife.
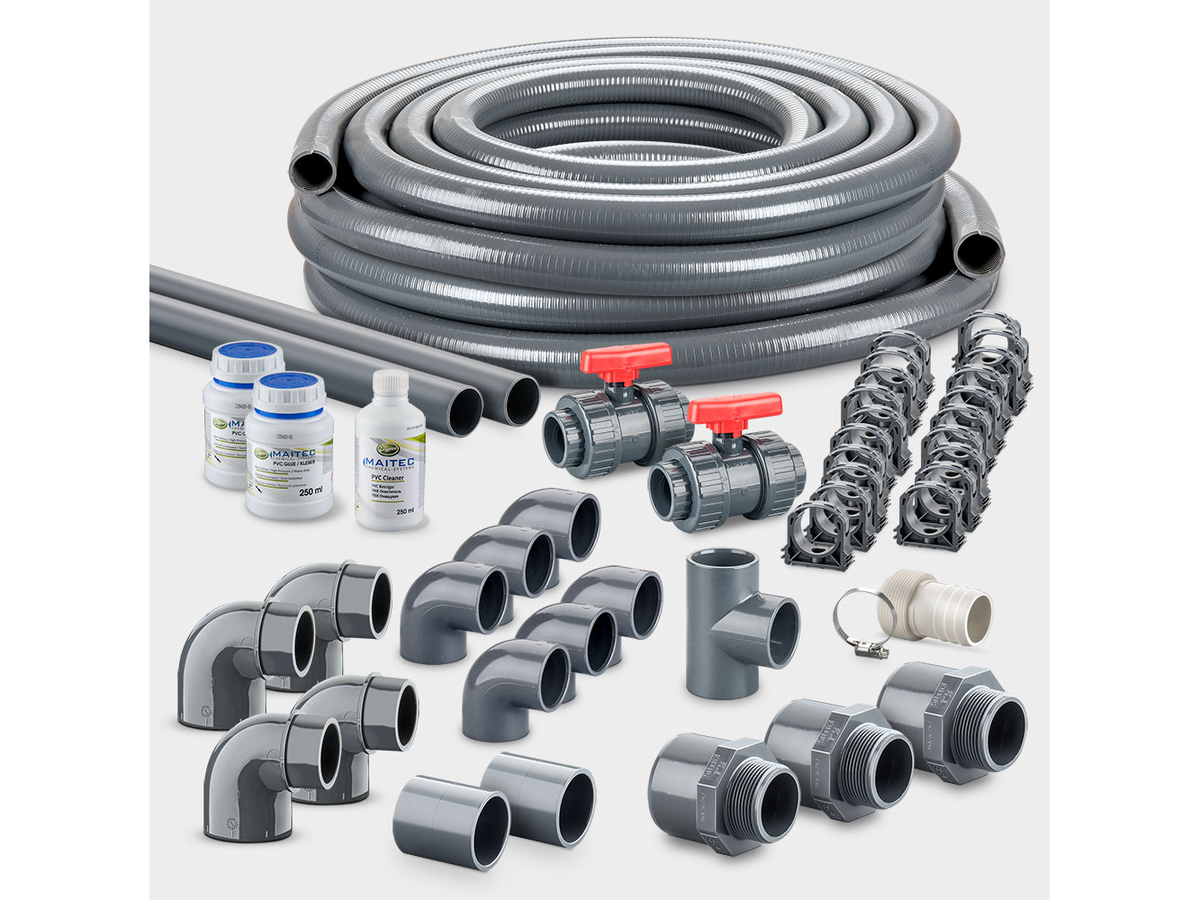
Pool pipework and filtration systems: see the detailed pipework instructions and the assembly instructions with the corresponding pipework diagram.
11Backfilling around the pool
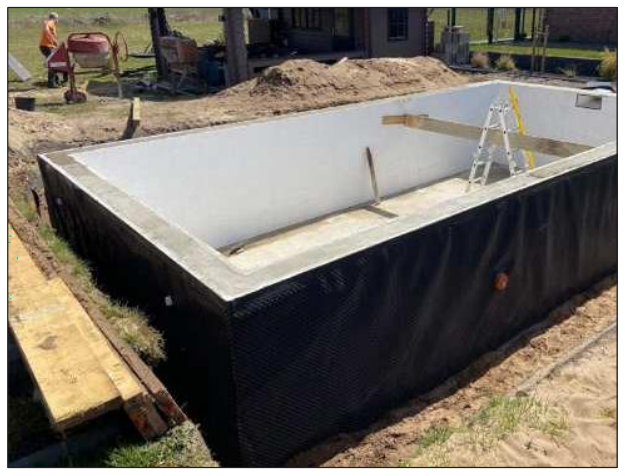
You can start backfilling around the pool once the concrete has dried (about 3–4 weeks). The most suitable backfill material is rounded gravel or frost-resistant gravel.
- During backfilling, make sure the installed pipes are not damaged or crushed by stones. So lay the pipes on a layer of sand and cover them with sand. The soil around the pipes must not be compacted mechanically.
- To protect the polystyrene blocks, you can apply a waterproofing layer (bitumen or dimpled membrane) to the outer wall of the pool.
The backfill must never exceed the water level by more than 50 cm. Under no circumstances compact the backfill mechanically with a vibrating plate or similar heavy machinery!
11.1General remarks
- These instructions are based on the manufacturer's practical experience and current technical knowledge. They can only serve as a general guide, as the manufacturer has no influence over the specific conditions on site.
- If components from other manufacturers are fitted (e.g. Roman steps, lights, counter-current units), also follow their respective assembly instructions.
- All electrical connections must be made by a qualified electrician.
- Use only standard pool chemicals, which are sold in well-stocked DIY or specialist shops, and dose them only according to the instructions.
- When starting up the filtration system for the first time, check that the system and the pipes have no leaks.
- When preparing the filtration system for winter, you must follow the manufacturer's instructions.
12Safety instructions
Never let children play unsupervised in or near the pool. Teach children about the potential dangers and teach them to swim. Cover the pool when it is not in use. After eating or sunbathing, enter the water very slowly: there is a risk of circulatory failure or cardiac arrest!
First aid in case of an accident in the water: get the person out immediately. Check the pulse and breathing. If necessary, immediately give mouth-to-mouth resuscitation and cardiac massage. Call the emergency services.
Read all the information carefully before using the pool and ask if anything is unclear. The notes have been prepared to ensure your safety and that of the other users. Keep this document in a safe place. The typical risks of using the pool are described below, without the list being exhaustive: use common sense in all activities in and around the pool.
Safety of non-swimmers:
- Always make sure that non-swimmers and users with limited swimming ability, especially small children, are under the supervision of a person who can rescue them and call for help in an emergency.
- Appoint a person capable of providing help to watch over the pool at all times while it is in use.
- Non-swimmers and those with limited swimming ability must wear personal protective equipment (e.g. inflatable armbands) when using the pool.
- Remove toys from the pool and the surrounding area when the pool is not in use or not supervised, so that they do not attract children.
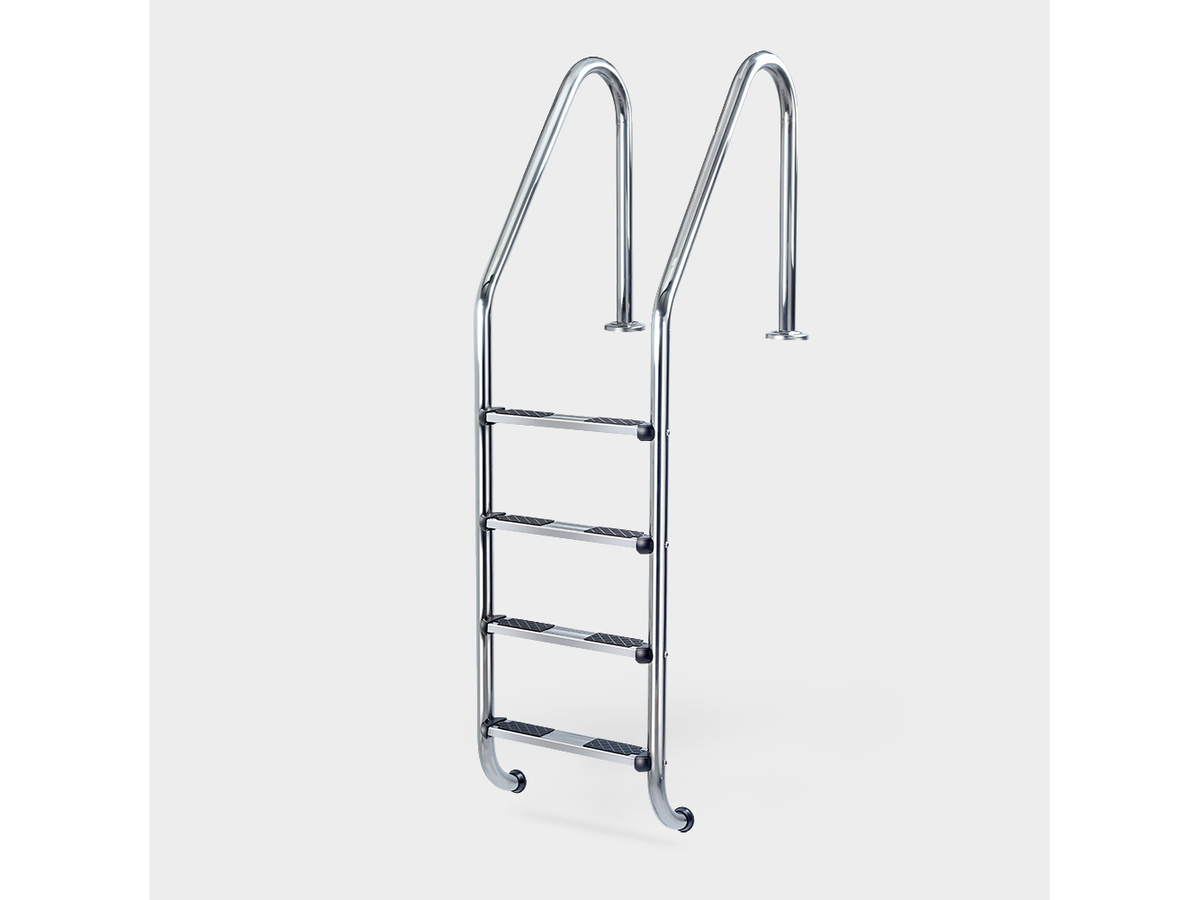
Safe access to the pool: if the means of access (the ladder) cannot be lifted or folded away to prevent children from gaining unexpected access and drowning, we recommend securing access to the pool with a protective device.
Protective devices: they not only prevent children from falling unexpectedly into the pool, but also protect against unauthorised access in general. So do not neglect safety accessories. Depending on the circumstances, they may be a fence, a cover with special safety features, a pool barrier or an alarm system. We also recommend securing the doors and windows of the house, as well as the entrance to the property.
Safety accessories can make the pool safer, but they never replace constant supervision of children by an adult who can help in an emergency.
Safety equipment: we recommend keeping rescue equipment (e.g. a lifebuoy) near the pool. Make sure there is a working telephone and a list of emergency numbers nearby, so that you can call for help quickly.
Safe use of the pool:
- Encourage all users, especially children, to learn to swim.
- Learn to give first aid (cardiopulmonary resuscitation) and update your skills regularly.
- Before using the pool, explain to all users, including children, what to do in an emergency.
- Never jump into deep water: it can cause serious injury or death.
- Do not use the pool under the influence of alcohol or of medication that may affect your ability to use it safely.
- If the pool is fitted with a cover, before using it make sure the cover is fully raised or fully removed from the water surface.
- To protect users from waterborne diseases, make sure the water is always treated and kept in a hygienically safe condition. See the notes on water treatment in the user manual.
- Keep chemicals and water treatment products (for treatment, cleaning or disinfection) out of the reach of children.
- Folding ladders must be placed on a flat surface.
- Put up warning signs in a clearly visible place within 2 metres of the pool.
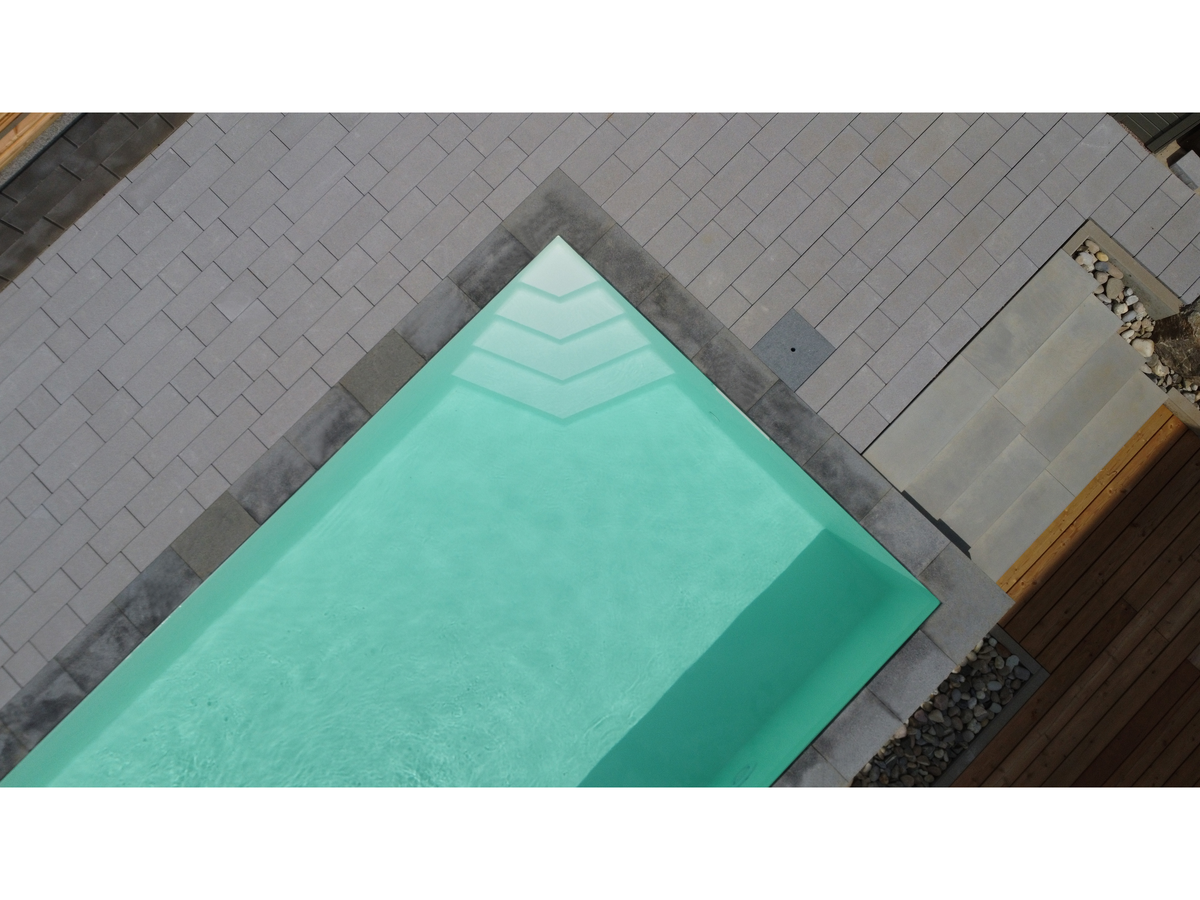
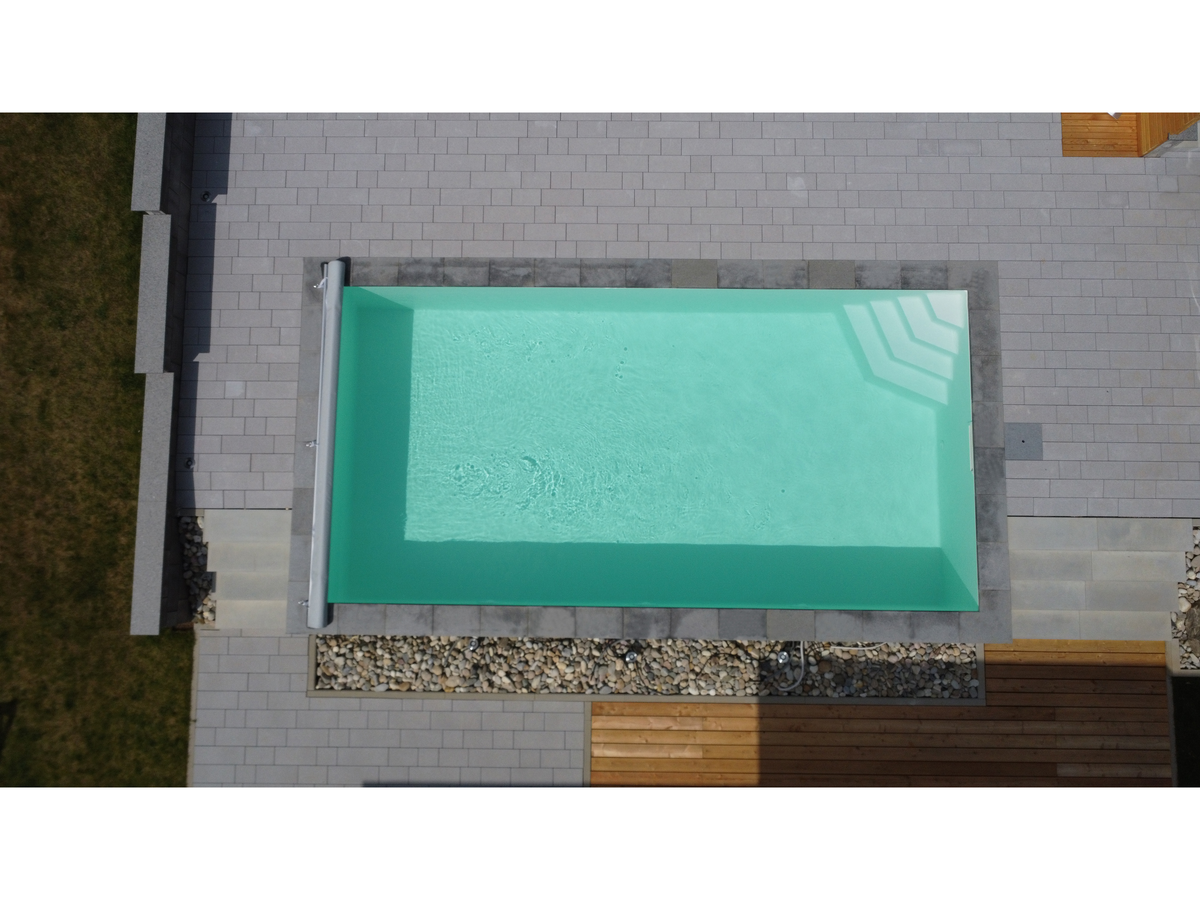
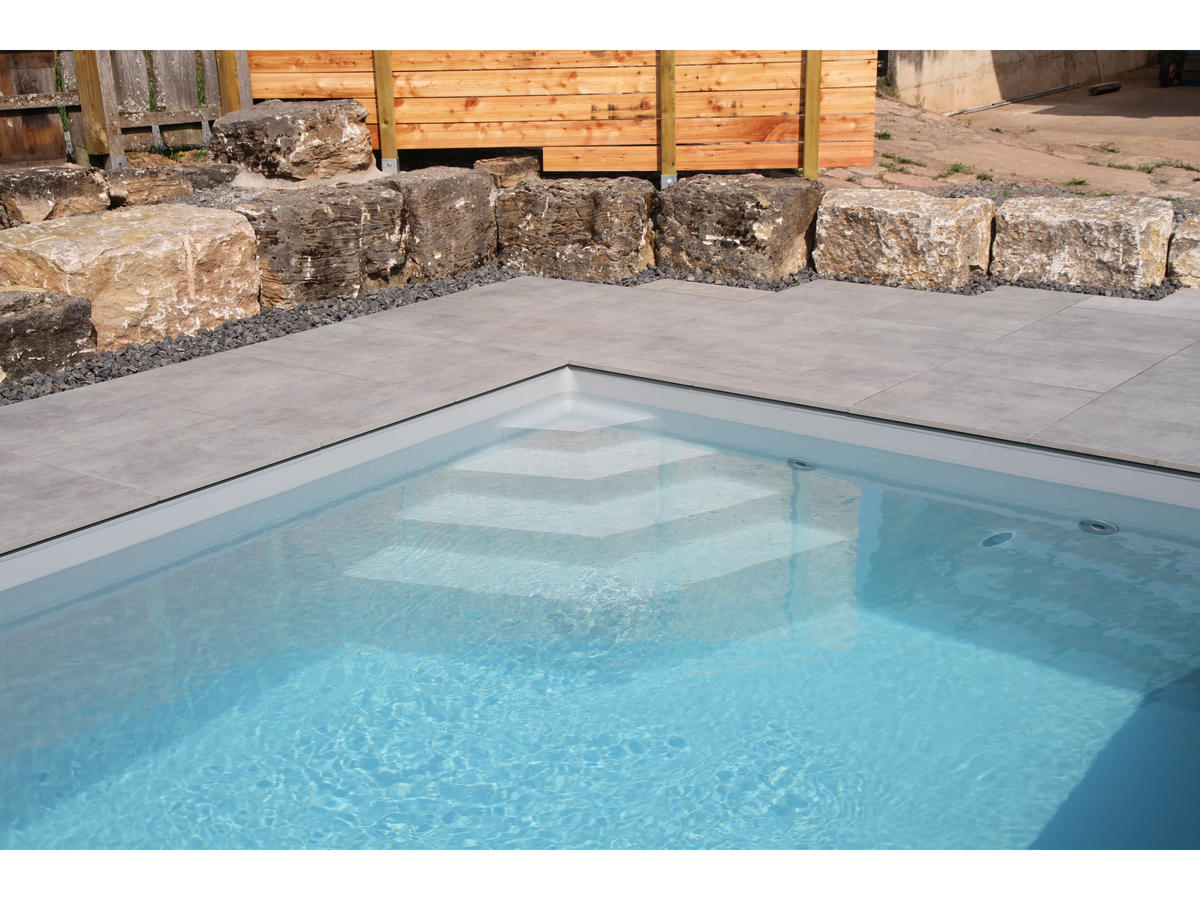
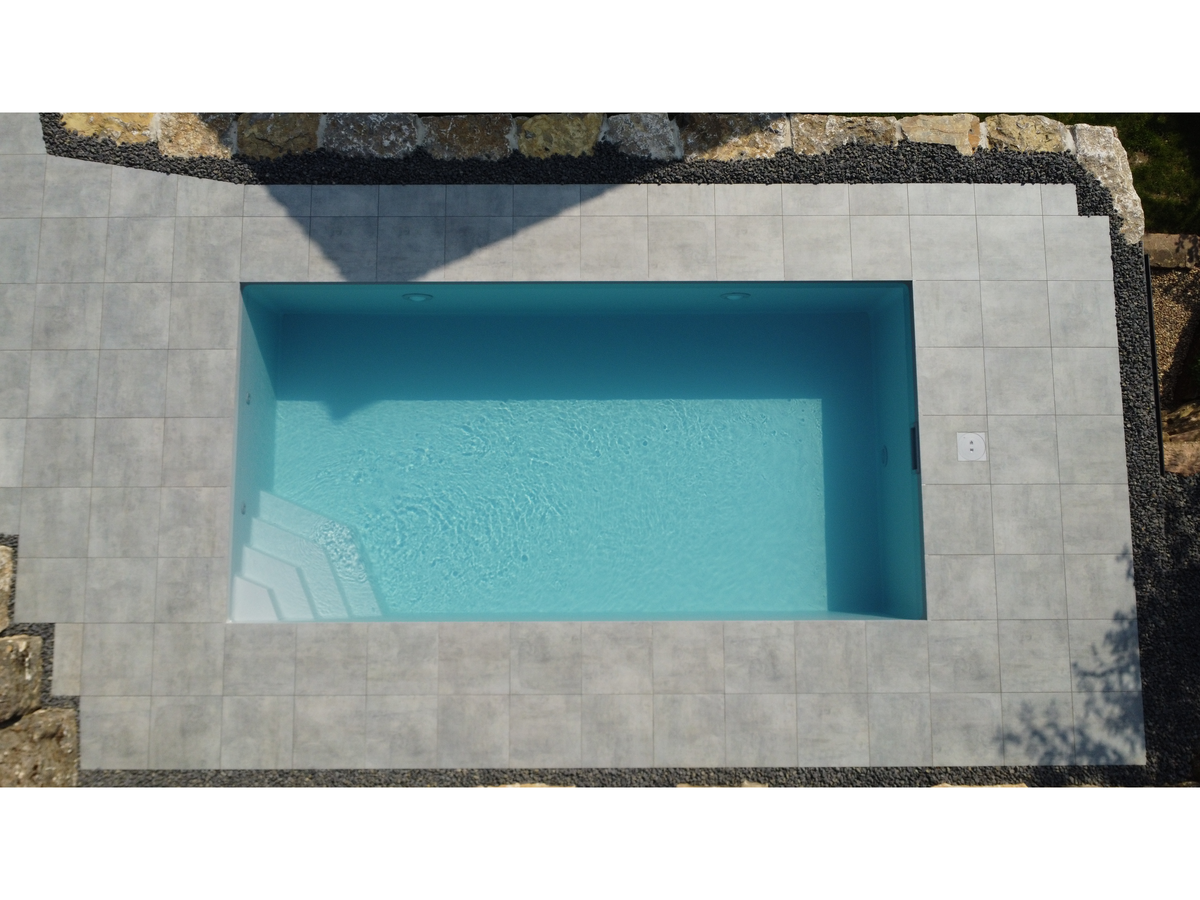
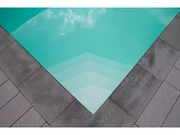
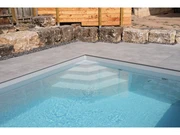
13Smart / Smaragd integrated corner steps (for the sizes with corner steps)
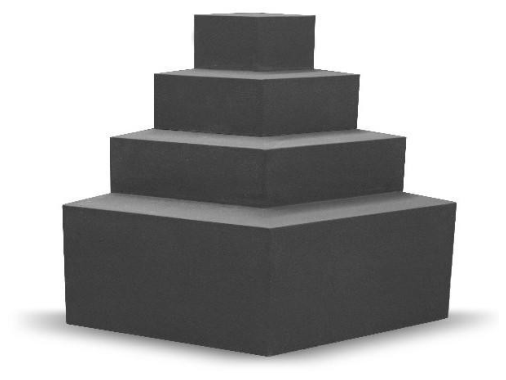
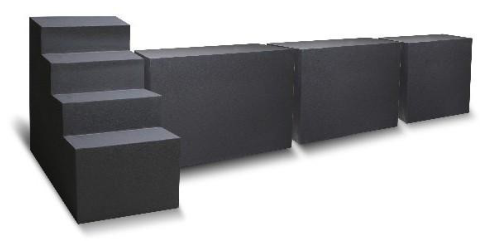
Instructions from the manufacturer TREND POOL for the Underliner Stairs Smart and Smaragd integrated corner steps. The steps are installed under the liner. For additional information or advice on filters, water care and accessories, and to order spare parts, contact your dealer, stating the date of purchase and the exact description of the product. As part of continuous technical development, the manufacturer reserves the right to make modifications that improve the product.
Completeness of delivery: check that the contents are complete according to the parts list. If there are any discrepancies, contact your dealer immediately. Before starting assembly, read these notes carefully and follow the instructions.
Preparation: check whether the inner liner supplied matches the desired position of the step. The positioning cannot be changed later.
Avoid point loads on the steps during the whole assembly process! For safety, place a support (for example a wooden board) over the entire contact surface of the step.
Assembly materials: elastic construction adhesive for stairs on a polystyrene base (not included), article No. 78205. 2 cartridges are needed for each element. It is applied with a sealant gun supplied by the customer. Skin-forming time (23 °C): about 10 minutes. Curing speed (23 °C): about 3 mm in 24 hours.
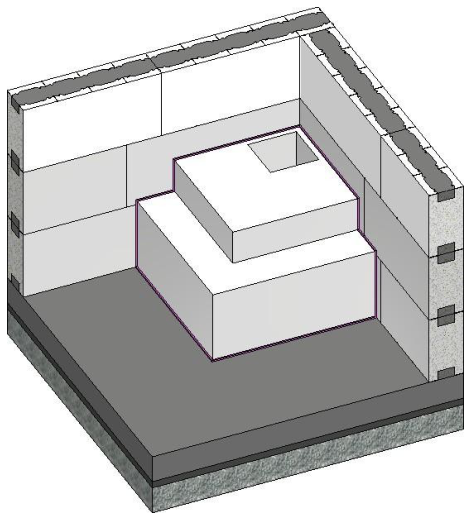
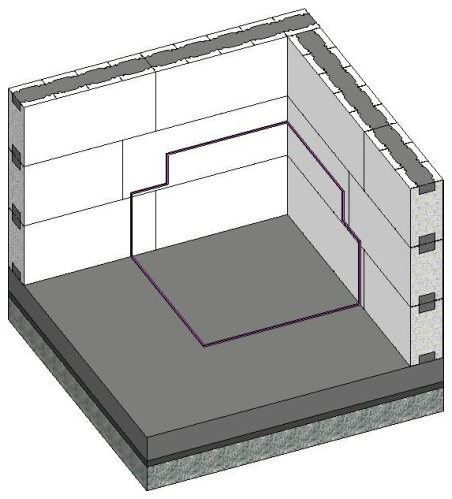
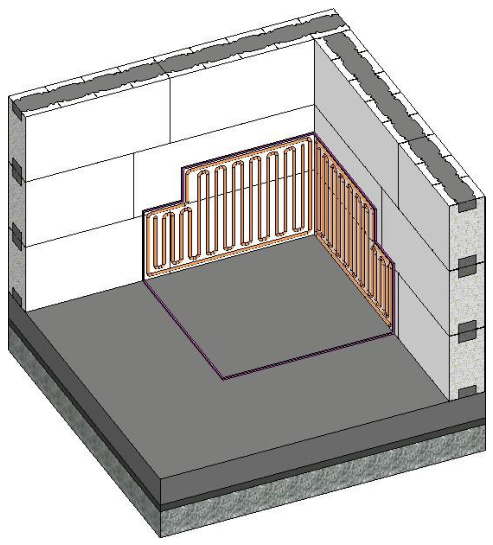
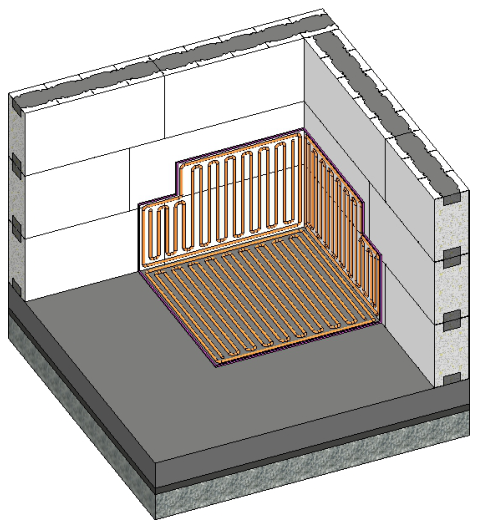
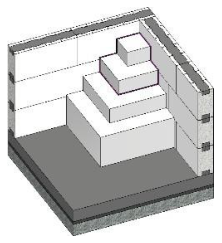
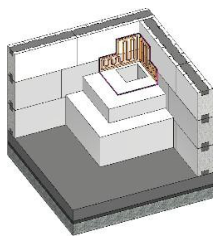
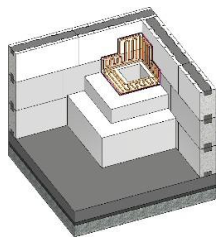
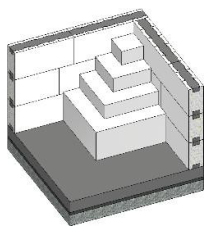
Step 1. Place the stairs in the intended corner and mark their exact position on the wall and on the floor of the pool. For multi-piece stairs, position the lower section first. Then remove the stairs again. The cavity in the stairs is there for manufacturing reasons and is not grounds for a complaint.
Step 2. First apply the adhesive to the pool wall: (1) draw an outline 2 cm from the edge, seen from the inside; (2) then fill the surface with adhesive in a wavy (curved) pattern. Next, apply the adhesive to the pool floor: (3) frame 2 cm from the edge, seen from the inside; (4) surface in a curved (wavy) pattern.
It is very important to observe the curing and drying times of the adhesive used.
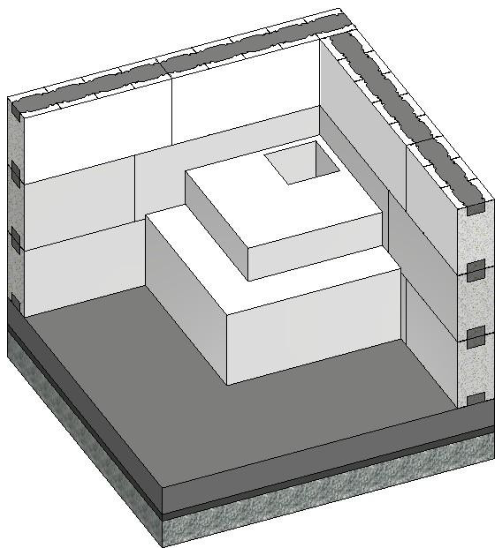
Step 3. Press the step against the place where the adhesive has been applied. For multi-piece steps, glue the lower part first.
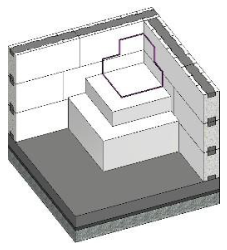
Step 4. For multi-piece stairs, repeat steps 1–3. The upper half of the stairs is positioned on the lower half, marked, glued and fixed.
Specific to Variofit and the adapter modules (only if they are part of your kit):
- Step 1: first fit the Variofit corner stairs, as described in steps 1–3.
- Step 2: then the Variofit adapter modules can be fitted in the same way (steps 1–3). Beforehand, however, they must be placed on the corner stairs already fitted and marked.
- Step 3: if the adapter modules span the whole width of the pool, first fix the steps in one corner and one of the adapter modules in the opposite corner. Finally, fix the central adapter module.







 RO
 EL
 RU
 MK

 BG